Configuring a ThreatQ Source in Cloud SIEM
This topic has information about configuring a ThreatQ source in Cloud SIEM.
ThreatQ is a threat intelligence platform that centrally manages and correlates external sources of threat intel information.
If you have a ThreatQ subscription, Cloud SIEM’s ThreatQ integration allows you to leverage ThreatQ threat intel feeds.
To do so, you simply configure a ThreatQ source in Cloud SIEM. You supply the information Cloud SIEM needs to connect to ThreatQ and fetch feed updates on a periodic basis.
Configure a ThreatQ source
- Classic UI. In the top menu select Content > Threat Intelligence.
New UI. In the main Sumo Logic menu, select Cloud SIEM > Threat Intelligence. You can also click the Go To... menu at the top of the screen and select Threat Intelligence. - On the Threat Intelligence page, click Add Source.
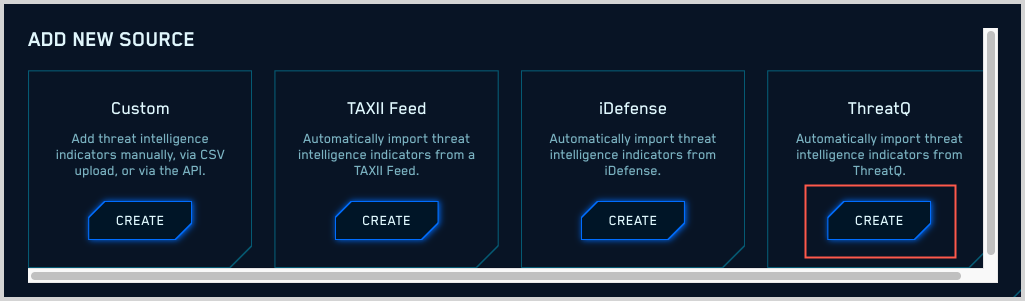
- On the Add New Source page, click Create in the ThreatQ tile.
- The Add New Source page updates.
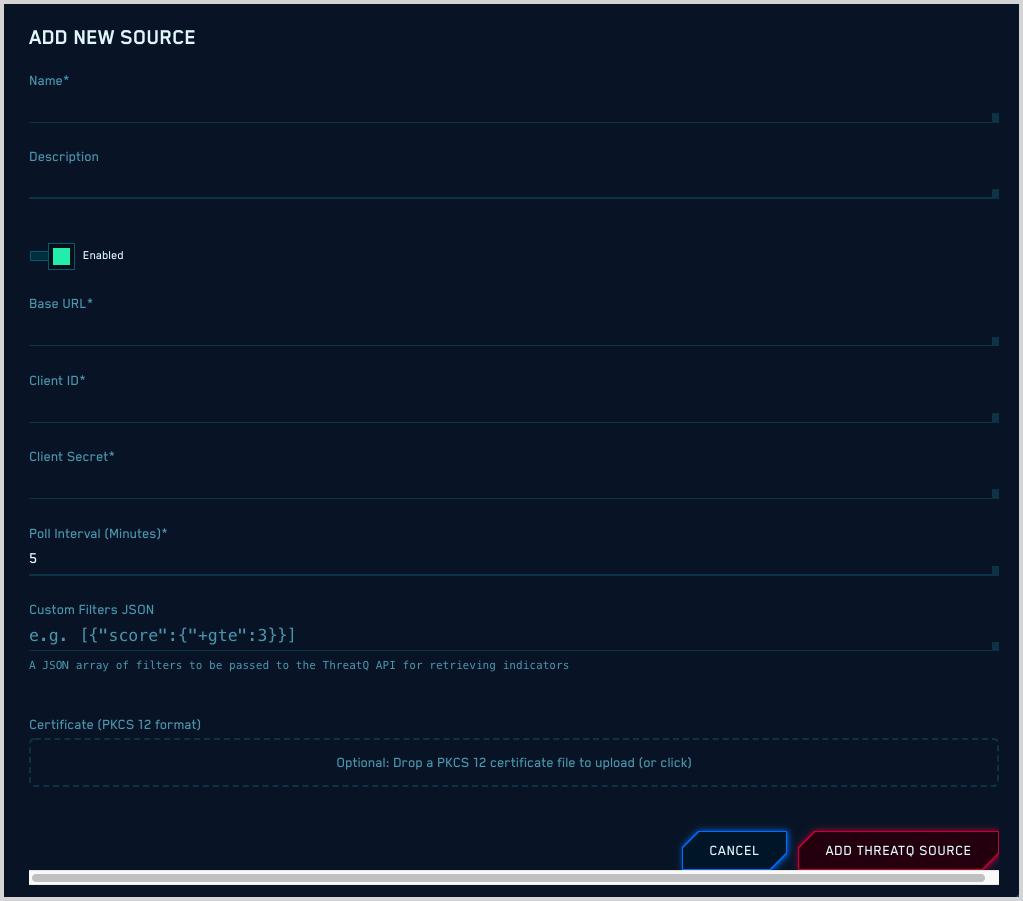
- Name. Enter a name for the source.
- Description. (Optional) Enter a description of the source.
- Enabled. By default, the new source will be enabled. Use the slider if you want to disable it.
- Base URL. Enter the address you use to access the ThreatQ portal.
- Client ID. Enter your ThreatQ Client ID.
- Client Secret. Enter your ThreatQ Client Secret.
- Poll Interval. Enter how frequently, in minutes, that you want Cloud SIEM to collect indicators from ThreatQ.
- Use Expiration Dates from ThreatQ. Use the indicators expiration dates set in ThreatQ.
- Custom Filters JSON. (Optional) If you want, you can enter a JSON filter to specify the indicators you want to collect from ThreatQ. The example shown in the screenshot above,
[{“score”:{“+gte”:3}}], will select indicators whose score is greater than or equal to 3. - Extra Headers. Provide additional headers you want to add to each request in "Key: Value" format.
- Certificate. (Optional) A PKCS format certificate is required to authenticate to your environment if you have an SSL API gateway in front of your on-premise ThreatQ service.
ThreatQ sources in the Cloud SIEM UI
After you set up your ThreatQ source, it will appear on the Threat Intel page in the Cloud SIEM UI. Its Type field will be “ThreatQ”.
Looking for ThreatQ indicators using Cloud SIEM rules
As with other threat intel sources, Cloud SIEM compares each incoming record to the indicators provided by your ThreatQ source.
When a record contains a value that matches an entry in one or more threat intel lists, two fields in the record get populated: a listMatches field that contains the names of threat intel lists that the record matched, and a matchedItems field that contains the actual key-value pairs that were matched. In addition, the string “threat” is added to the listMatches field.
For example, give a record whose SourceIp column matches a entry in “My Threat Intel List”, the listMatches field added to the record would look like this:
listMatches: ['My Threat Intel List', 'column:SourceIp', 'threat']
Because the threat intel information is persisted within records, you can reference it downstream in both rules and search. To leverage the information in a rule, you extend your rule expression with the array_contains function. The syntax is:
array_contains(listMatches, "threat_intel_list_name")
where
threat_intel_list_name is the name of the threat intel list.
If the name of the list you are referencing with array_contains contains any spaces, replace the spaces with underscores. For example, if the list name is my list, refer to it as my_list.
For more information, see Rules and other content in the About Cloud SIEM Rules topic.