Security Incident Response (SIR) Integration
This section has instructions for installing and configuring the integration between Sumo Logic Cloud SIEM and ServiceNow's Security Incident Response (SIR).
The screenshots in this topic were captured from SIR UI16. If you have a different UI enabled, your view may be different.
Overview
The integration polls for Cloud SIEM for insights and creates a ServiceNow Incident for each insight. It creates composite fields, CI items, and associated MITRE data in ServiceNow.
Once you have configured the integration, insights that match the query you specify in the configuration, will be ingested by ServiceNow on the configured ingestion cycle, which by default is every five minutes.
Prerequisites
The following SIR plugins are required:
- Threat Intelligence (com.snc.threat.intelligence) — This plugin is required if you want to enable SIR to add MITRE information (stage, tactic, and technique) to Incidents it creates from Cloud SIEM insights.
- Security Incident Response (com.snc.security_incident)
The following SIR system table permissions are required:
- Security Incident (sn_si_incident) – Read-only access is required. This table will be written to by ServiceNow mappers.
- Threat intelligence/mitre tables – Read-only access is required
- Configuration item tables – Read-write access is required.
Your Cloud SIEM role must allow you to use API keys and to retrieve and modify insights.
Step 1: Copy your API credentials
In this step, you make a copy of your API credentials, which you'll need to supply when you install the SIR-Cloud SIEM integration in Step 5 below.
You’ll need to supply a Sumo Logic Access ID and Access Key. If necessary, you can create those in the Sumo Logic UI. For more information, see Access Keys.
Step 2: Install ServiceNow plugins
In this step you install two ServiceNow plugins.
Plugin installation can fail if another installation is running in the background. Make sure you complete one installation of one starting another.
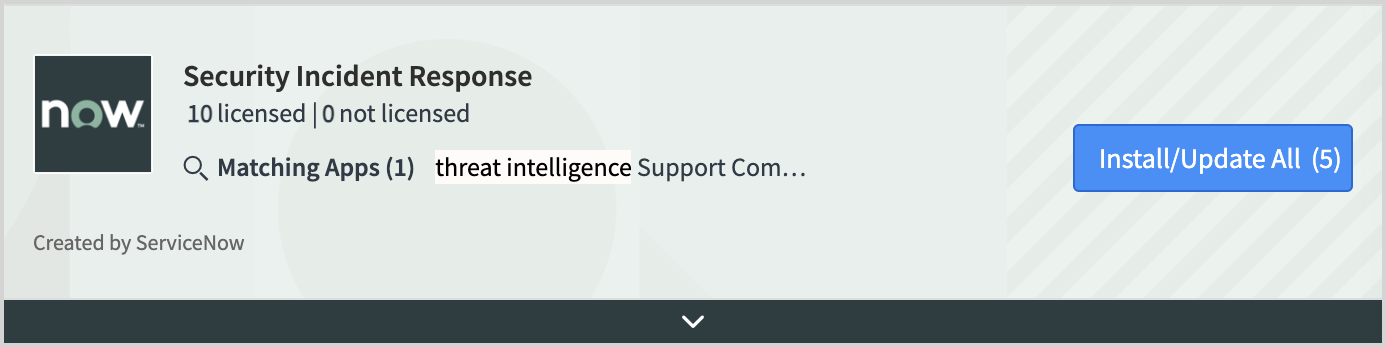
- Install the Security Incident Response plugin from the ServiceNow store.
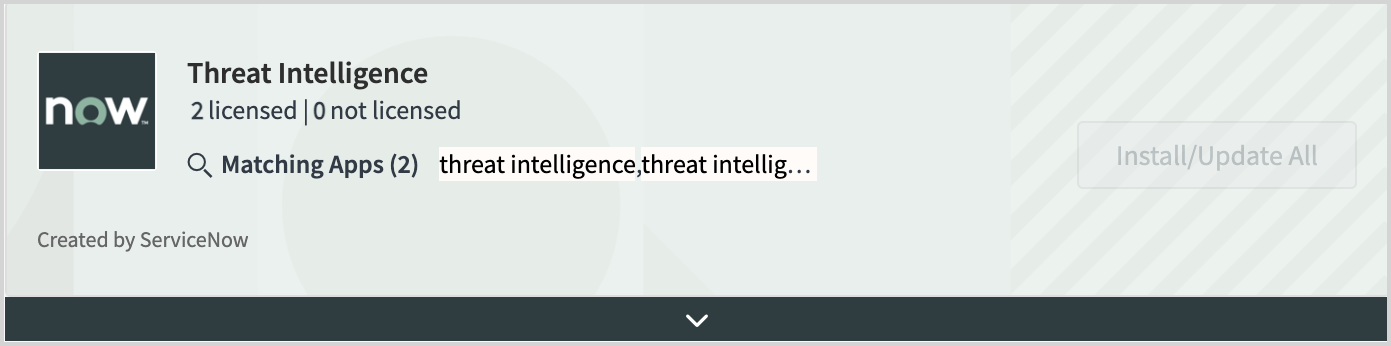
- Install the Threat Intelligence add-on from the ServiceNow store.
Step 3: Configure MITRE ATT&CK threat feed data
This step is required only if you don’t already have MITRE ATT&CK threat feed data. To see if you do, Navigate to Threat Intelligence > MITRE ATT&CK Repository > Techniques, in ServiceNow. If you have MITRE data, the that page will contain data that looks like the table shown in substep 6 below, and you can proceed to Step 4: Configure CI Lookup Rules. If the table is empty perform the steps in this section.
- Navigate to Threat Intelligence in the navigation bar.
- Under Threat Sources, select Sources.
- From Threat Sources, select Enterprise ATT&CK .
- Click Execute Now to populate your MITRE framework data.
- To verify the population succeeded, in the navigation bar search for "MITRE ATT&CK Repository" and click Techniques.
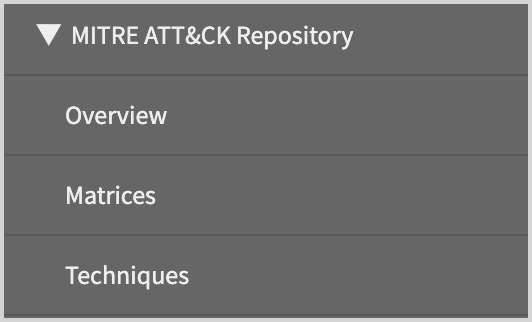
- You should see several pages of data similar to the screenshot below.
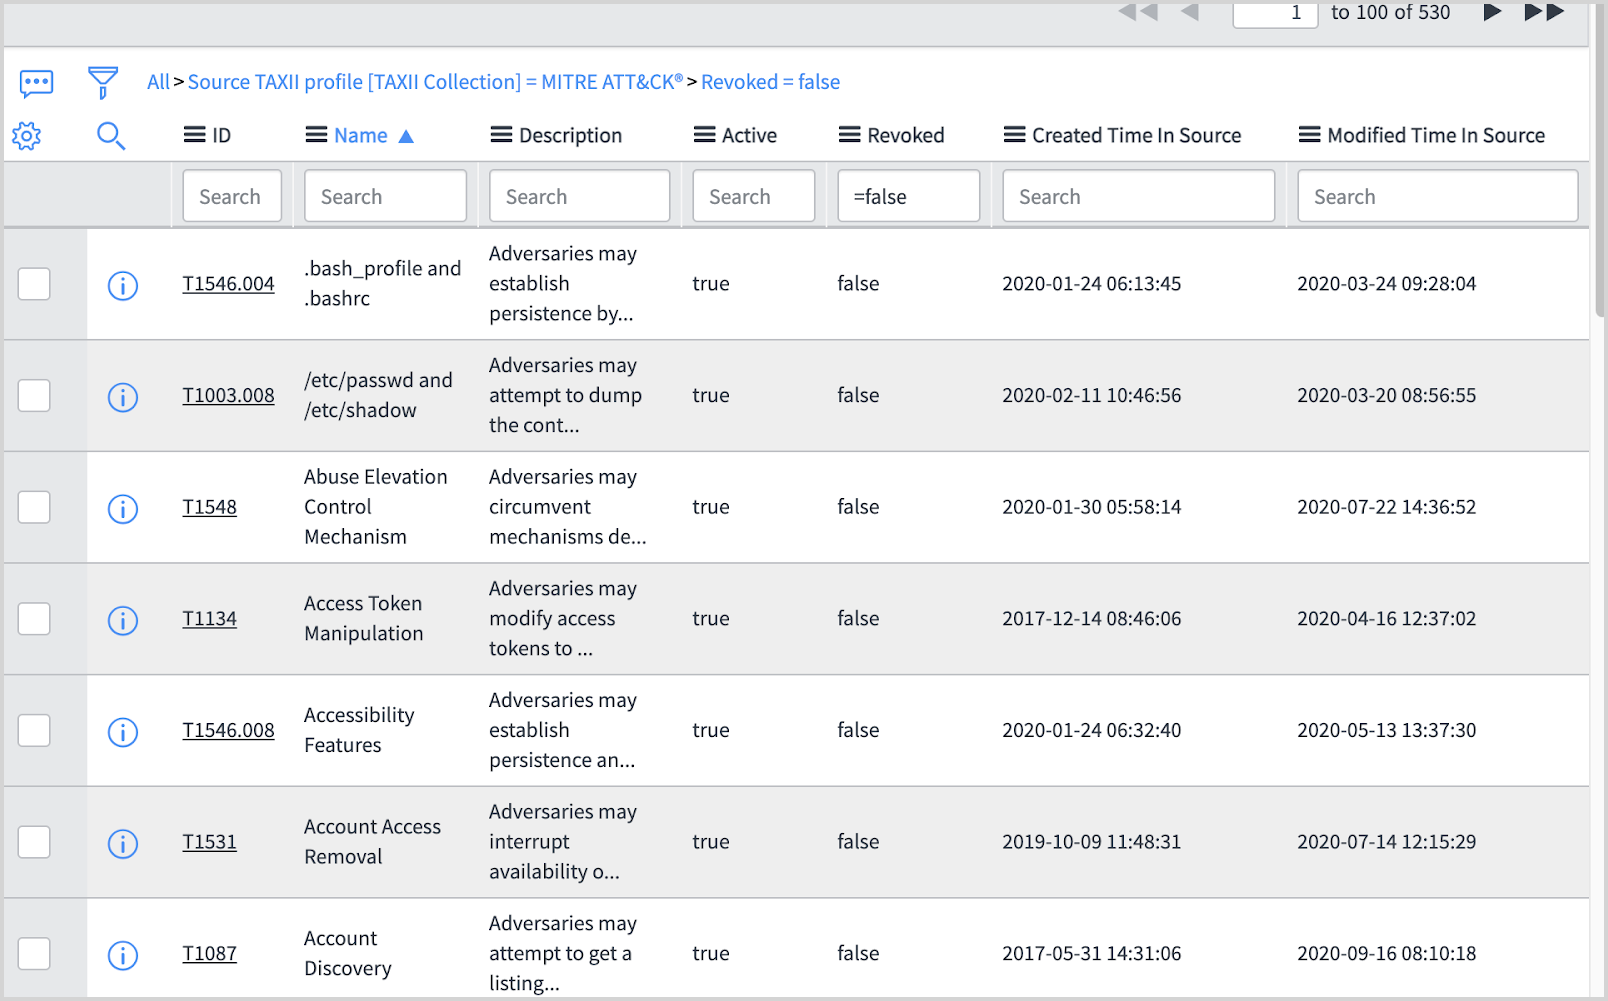
- If the table is still empty, contact your ServiceNow administrator and review the integration runs logs to determine how the error occurred. Otherwise proceed to the next step.
Step 4: Configure CI Lookup Rules
CI Lookup Rules are required to enable discovery of configuration items and avoid duplicate CI item creation. If no rules, or no appropriate rules exist, follow the steps below to create appropriate rules.
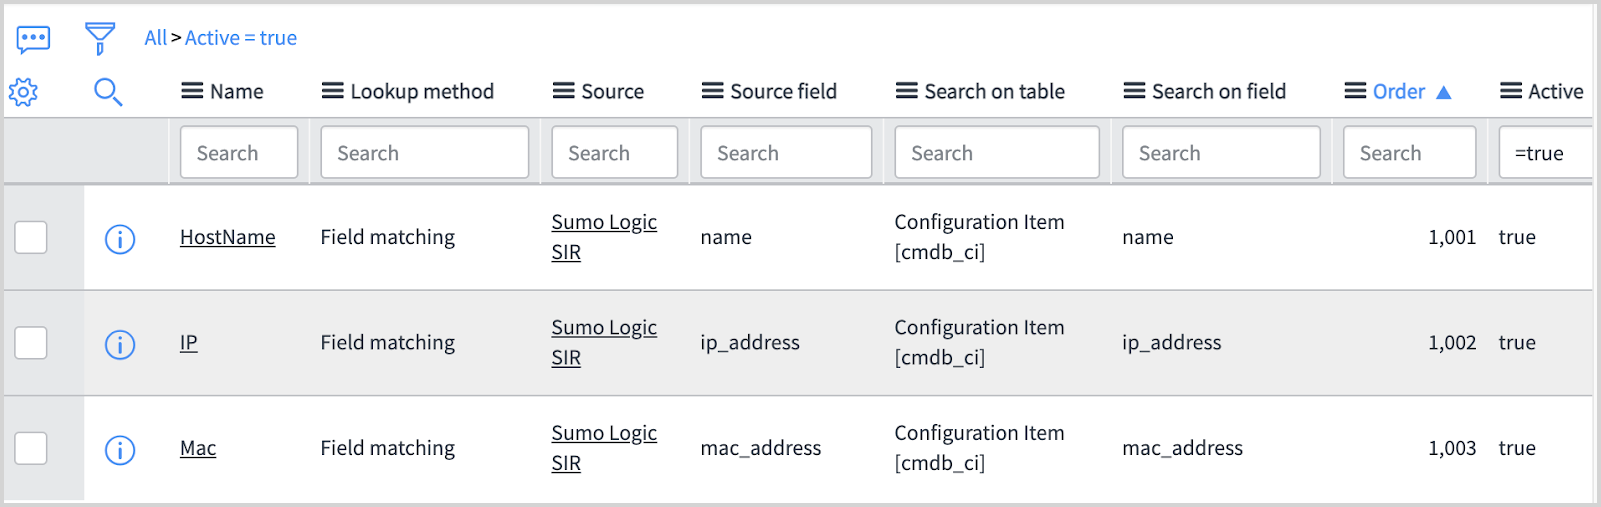
- Navigate to CI Lookup Rules under Security Operations in the navigation bar.
- Select New and create three rules shown in the screenshot below. For instructions, see Create a CI Lookup Rule in ServiceNow help.
Step 5: Install the SIR-Cloud SIEM integration
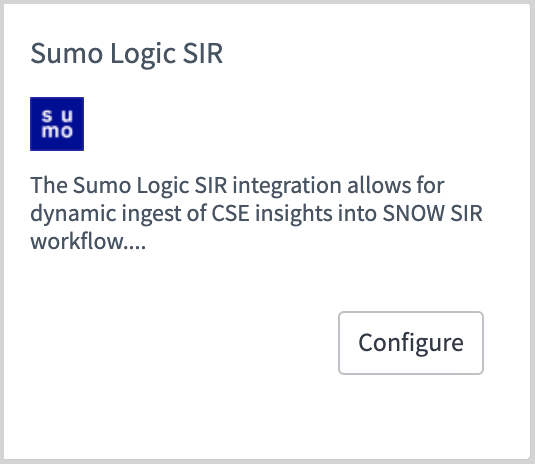
- Search for Integration Configurations under Security Operations in the navigation bar.
- Locate Sumo Logic SIR and click Configure.
- The Sumo Logic SIR Configuration popup appears.
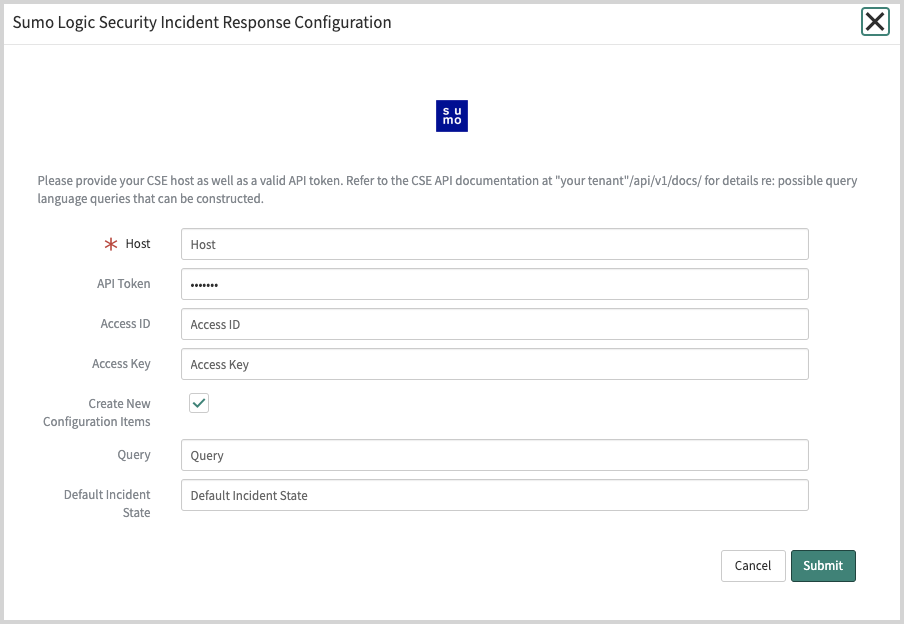
- Host. Enter the API endpoint for your Sumo Logic deployment, but leave out the trailing path reference to
/api/. To determine your endpoint, see Sumo Logic Endpoints by Deployment and Firewall Security. For example, if your API endpoint ishttps://api.au.sumologic.com/api/, enterhttps://api.au.sumologic.comas the value for the Host configuration setting. - Access ID and Access Key. Enter the Sumo Logic Access ID and Key you copied in Step 1.
- Default Incident State. Enter the Incident State you want to assign to Incidents created by the integration. The value you enter must by a valid state in your ServiceNow account. To view available options in your environment, enter
sys_choice.listin your Environments sidebar and filter fortable=sn_si_incident,inactive=false. Alternatively, you can directly view the available options in the State dropdown in any Incident. This field is case-sensitive. If you supply an invalid value, it will be ignored. The default state for your Incidents created by the integration will be set based on your business rules.
Step 6: Test the configuration
To verify that the configuration is working, enter the following in the ServiceNow navigation bar.
x_579138_sumo_logi_sumo_logic_insights.list
Within five minutes data will appear if new insights have been created. If no insights have been created, you can check Sumo Logic integration logs by searching for logs with the prefix: “Sumo Cloud SIEM ERROR”. You can also check the Sumo Status table from the navigation bar to see the last error message if any and the current integration health. If the value is healthy then the integration has run at least once with no error.
Configuration options
This section describes configuration changes you can make to the integration.
Update the mapping configuration
If desired, you can change the mapping between the fields in Cloud SIEM insights and the fields in Incidents that the integration creates in ServiceNow.
- Navigate to the Table Transform Maps page in ServiceNow.
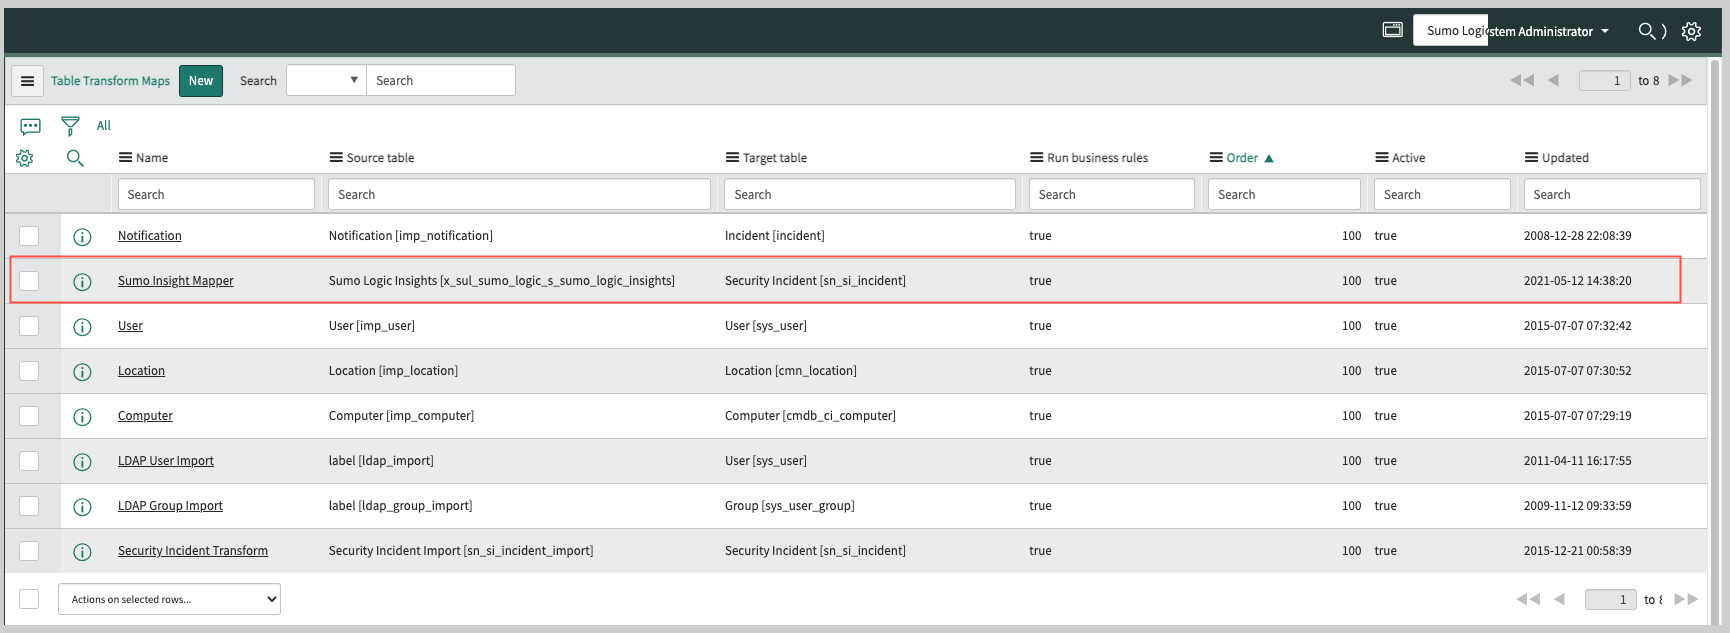
- Open the “Sumo Insight Mapper” for editing.
- Make your edits and save your changes.
Configuration properties
This section describes the configuration properties for the integration.
After navigating to sys_properties.list, search for the properties by entering “x_sul_sumo_logic_s.” in the Name field.
Double-click a property to edit it.
| Property | Description |
|---|---|
x_sul_sumo_logic_s.configuration_id | An arbitrary ID assigned by the integration. Do not modify this setting unless recommended by Sumo Logic support. |
x_sul_sumo_logic_s.integration_id | An arbitrary ID assigned by the integration. Do not modify this setting unless recommended by Sumo Logic support. |
x_sul_sumo_logic_s.sumo_debug | Controls what level of logging is enabled. If “true” both info and debug level messages are logged. If “false” only error level messages are logged. |
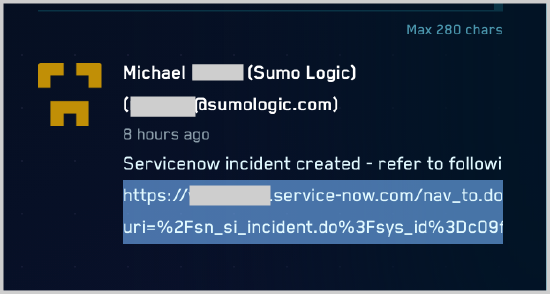
View generated Incident URL in Cloud SIEM
The URL to the ServiceNow Incident generated for an insight is shown on the details page for the insight.
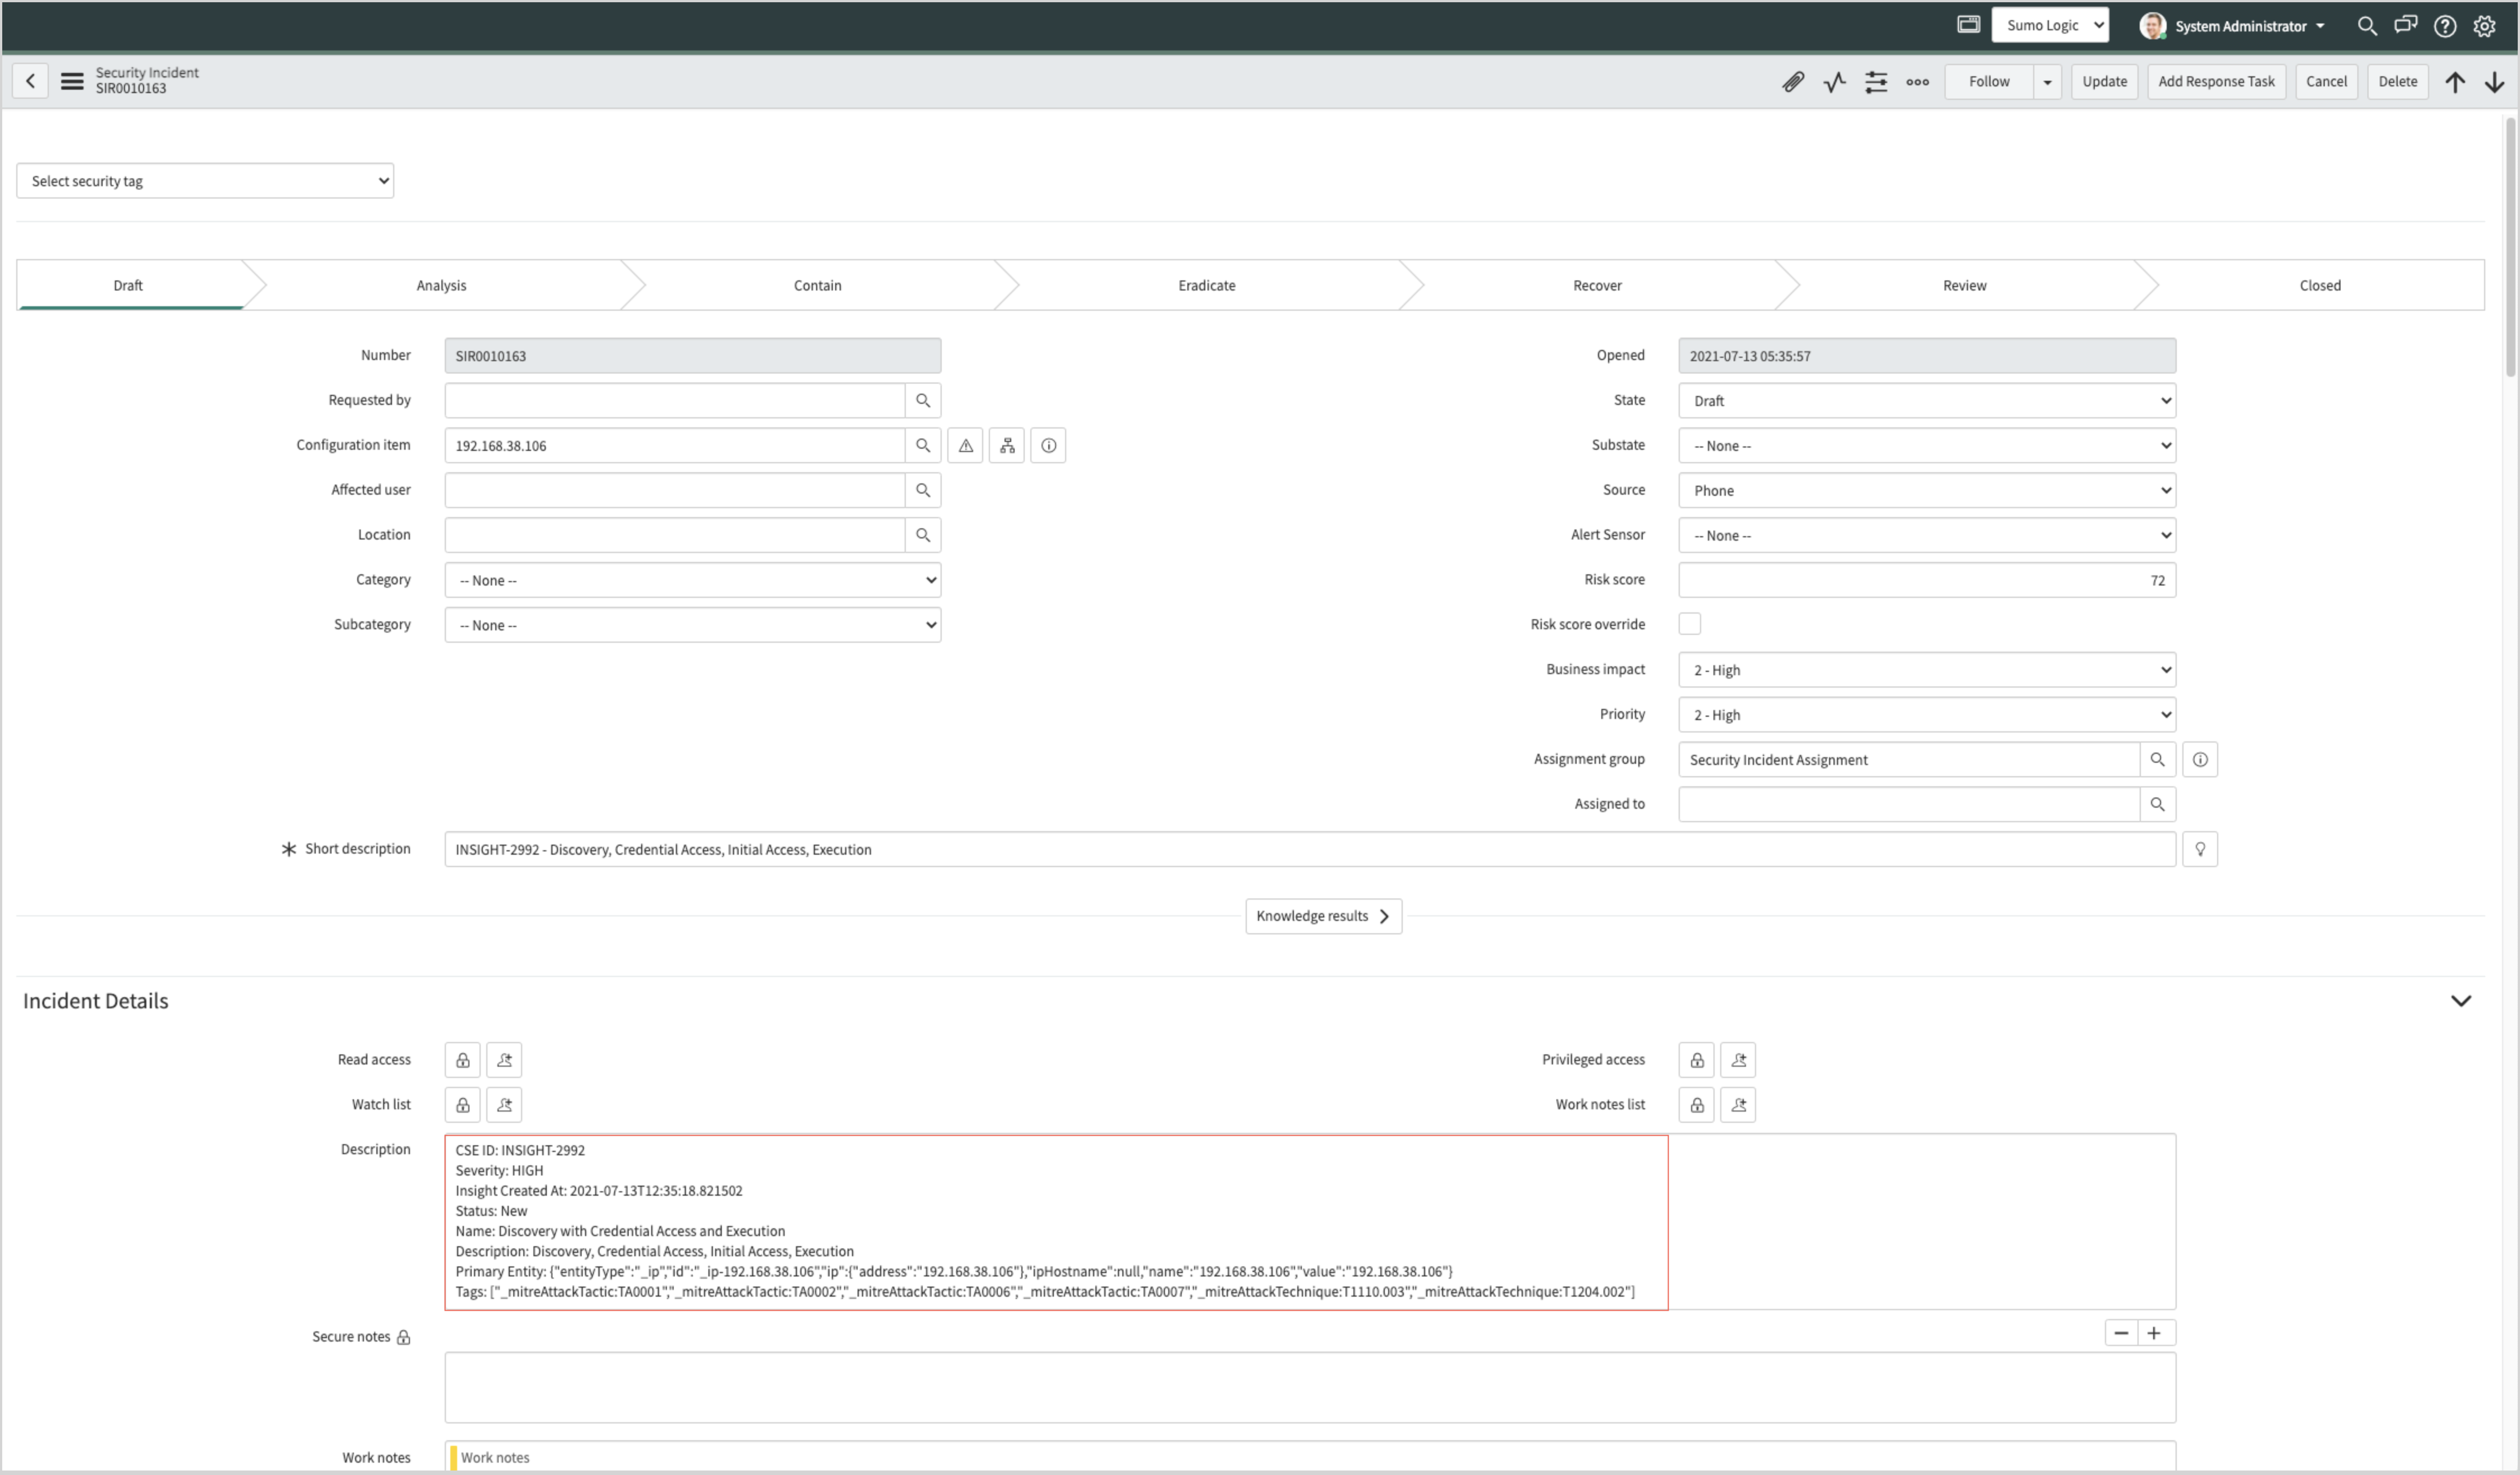
Example Incident created by integration
The screenshot below shows a ServiceNow Incident that was created for a Cloud SIEM insight.
See closed insight in Cloud SIEM
After an Incident created by the integration is closed in ServiceNow, the insight from which it was generated will be closed in Cloud SIEM as well.
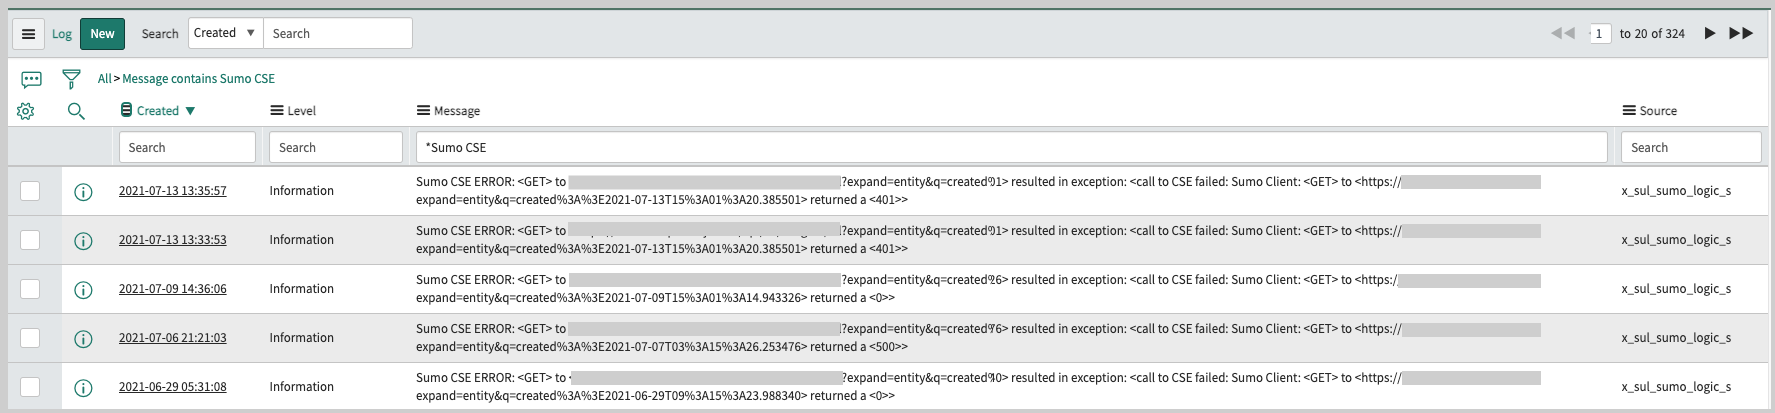
View integration log messages
To view log messages written by the integration:
- Choose System Log > All in the ServiceNow left-nav pane.
- Search the messages for “Sumo Cloud SIEM”.