Pause or Disable Scheduled Views
This page outlines the procedures for pausing a scheduled view, manually or automatically, which stops new data from being indexed. It also details the steps to restart a paused scheduled view and to permanently disable a scheduled view when it is no longer required.
AutoPause a Scheduled View
By default, all scheduled views are enabled with the AutoPause feature. This mechanism automatically flags scheduled views that have not been queried or referred for 90 consecutive days for potential pausing. This helps with optimizing the system performance and resource usage.
Scheduled View owners and all active account administrators will receive an in-app warning and email notifications with the list of Scheduled Views that are flagged for inactivity. These notifications are sent 21 days and 7 days prior to the scheduled pause. If no action is taken, the Scheduled Views will be automatically paused on the 90th day with a final notification.
Disable the AutoPause
Autopause will be enabled for all the Scheduled Views created. Follow the below steps to disable the Scheduled Views autopause:
- New UI. In the main Sumo Logic menu select Data Management, and then under Logs select Scheduled Views. You can also click the Go To... menu at the top of the screen and select Scheduled Views.
Classic UI. In the main Sumo Logic menu, select Manage Data > Logs > Scheduled Views. - Navigate and open the required Scheduled View.
- The Scheduled Views details are displayed on the right side of the page.
- Click Edit to open the pane for editing.
- Scroll down and uncheck the Enable AutoPause checkbox.

Re-start the Scheduled View
If a paused Scheduled View is still required, you can manually re-enable at any time by following the below steps:
- New UI. In the main Sumo Logic menu select Data Management, and then under Logs select Scheduled Views. You can also click the Go To... menu at the top of the screen and select Scheduled Views.
Classic UI. In the main Sumo Logic menu, select Manage Data > Logs > Scheduled Views. - To refine the table with Scheduled View paused results, use the Add a filter section located above the table and select Status:Paused from the dropdown.
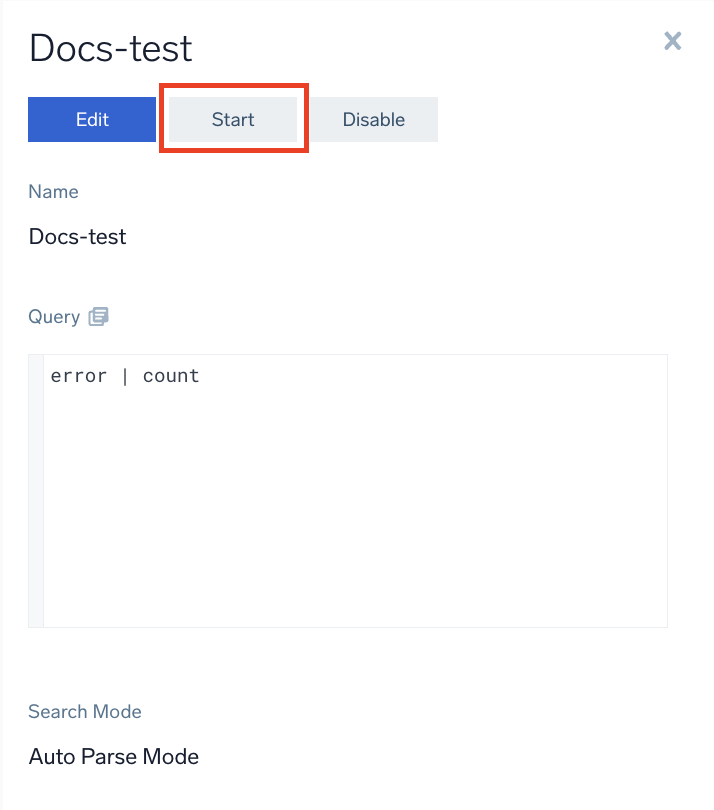
- Click on the required Scheduled View and click Start button to resume.
Manually pause a scheduled view
- New UI. In the main Sumo Logic menu select Data Management, and then under Logs select Scheduled Views. You can also click the Go To... menu at the top of the screen and select Scheduled Views.
Classic UI. In the main Sumo Logic menu, select Manage Data > Logs > Scheduled Views. - Click the three-dot kebab icon to the right of the scheduled view, then click Pause from the menu.
To resume indexing at a later time, click Start.
Disable a scheduled view
Once disabled, no additional data can be indexed in a scheduled view. A disabled scheduled view is not technically deleted, but it cannot be re-enabled. If you disable a view and later create a new view with the same name, you won't see duplicate results; instead all the data from both scheduled views are treated as one.
If you disable a view, it is no longer visible in Sumo Logic. If you create a new view with that same name, any query spanning the time range where both (the old and the new scheduled view) exist will search the union of the two scheduled views.
To disable a scheduled view:
- New UI. In the main Sumo Logic menu select Data Management, and then under Logs select Scheduled Views. You can also click the Go To... menu at the top of the screen and select Scheduled Views.
Classic UI. In the main Sumo Logic menu, select Manage Data > Logs > Scheduled Views. - Click the three-dot kebab icon to the right of the scheduled view you'd like to disable, then choose Disable from the menu.