Save a Search
Whether you are running ad hoc searches during a forensic investigation or running standard searches for health checks, you can save any search to run again later.
When you create a search that you'd like to reuse, you can save it to the Library. From there you can run it again, share with others, edit the search, or create a Scheduled Search to run at a regularly scheduled time, and set up alerts.
The saved search will also include any charts you have created in the Aggregates tab.
To save a search:
- Run a search you'd like to save.
- (Optional) After the search results are complete, in the Aggregates tab, select a chart type to display the data visually.
- Save the search using one of these methods:
- Click the save icon on the top right of the search page.

- Click the three-dot kebab icon and select Save As.
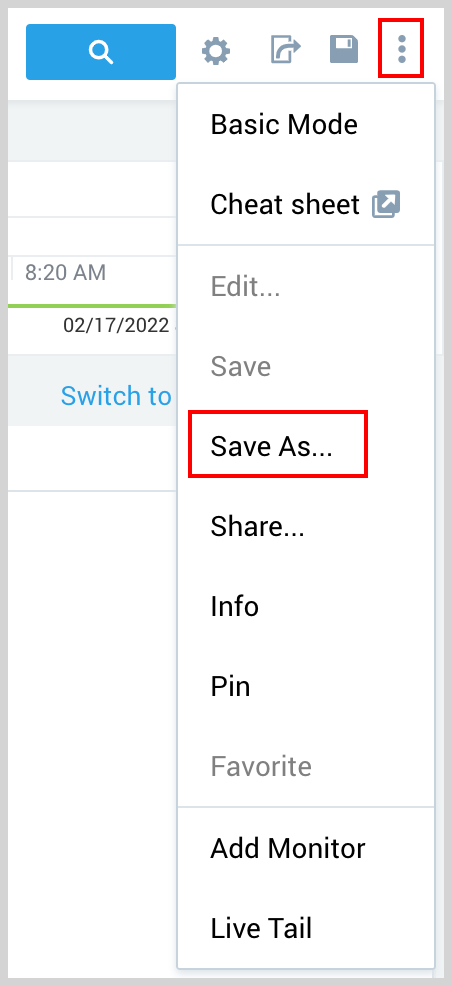
- Click the save icon on the top right of the search page.
- The Save Item dialog appears.
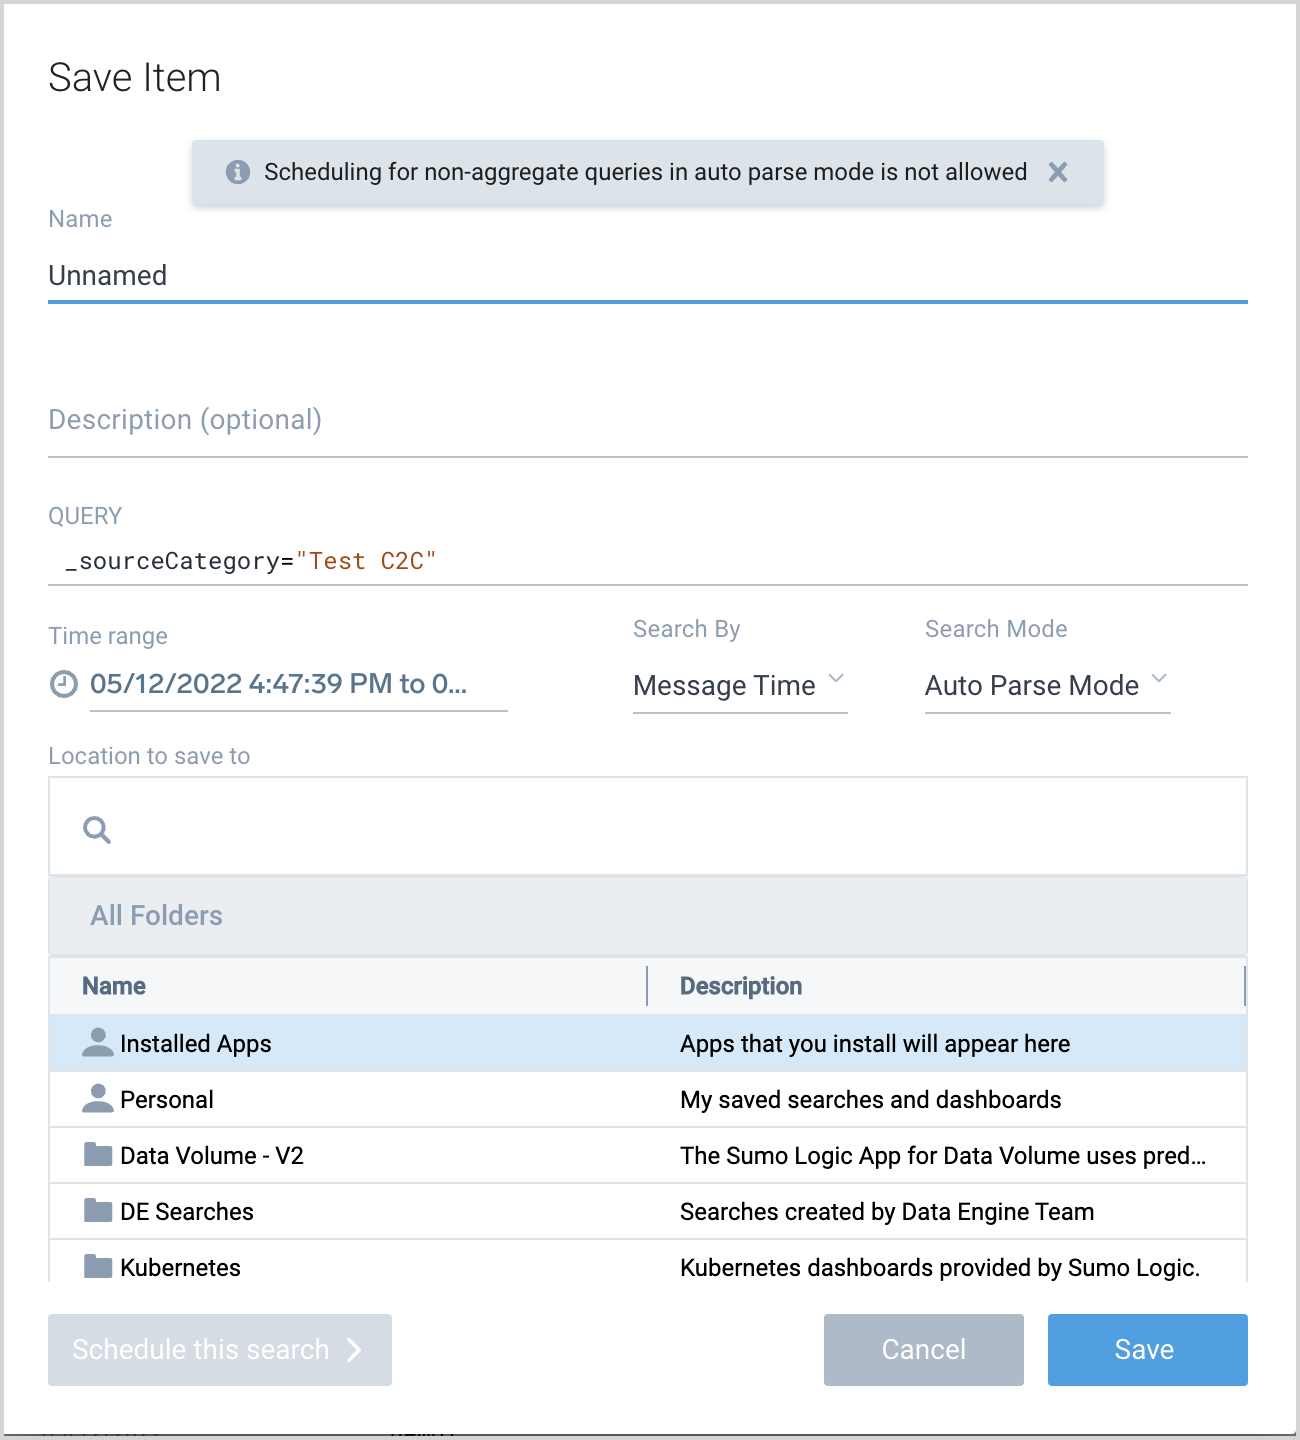
- Name. Enter a name for your saved search.
- Description. (Optional). Enter a description for the search.
- Query. You can edit your query if desired.
- Time Range. Choose a time range that will be the default range when you run the saved search.
- Search By. Select whether you want to save the search using message or receipt time. For more information, see Use Receipt Time.
- Search Mode. Select Manual or Auto Parse Mode. For more information, see Dynamic Parsing.
- Location to save to. Select a folder location for the saved search.
- Click Save to save the search without scheduling. If you want to schedule the search and optionally configure an alert, click Schedule this search and follow the instructions on Schedule a Search.