CrowdStrike Spotlight Source
The CrowdStrike Spotlight source will collect CrowdStrike Spotlight data combined with endpoint vulnerabilities from the CrowdStrike Falcon instance with Spotlight module enabled. These combined endpoints deliver a unified and comprehensive view of your vulnerability data with a single request. The source will fetch complete vulnerability instance data that has been updated within the duration of the polling interval, which by default is set to 1 hour. According to CrowdStrike Spotlight documentation, the timestamp updates are based on changes to any of the following vulnerability properties: status, remediation, evaluation_logic, suppression_info, and cve.
The CrowdStrike API documentation is not public and can only be accessed by partners or customers.
Data collected
| Polling Interval | Data |
|---|---|
| 1 hour | Vulnerabilities data |
Setup
Vendor configuration
Prerequisites
To collect vulnerability data from the CrowdStrike platform, you must have an authorized CrowdStrike account. CrowdStrike APIs use an OAuth 2.0 authorization token to make authorized API calls. CrowdStrike API Client is required to get the OAuth 2.0 authorization token. To define a CrowdStrike API client, you must be designated as a CrowdStrike Falcon Administrator role.
In this configuration, you will set up the CrowdStrike Spotlight and configure it to be authorized and authenticated to use vulnerabilities information from CrowdStrike Spotlight API. To obtain the auth token, you will need the following parameters.
API Client and API Secret
The API security token is used to authenticate with CrowdStrike Spotlight API. After successfully creating the API client, you will get the Client Id, Client Secret, and Base URL.
To get the CrowdStrike API Client, follow the steps below:
- Access the CrowdStrike Spotlight Platform.
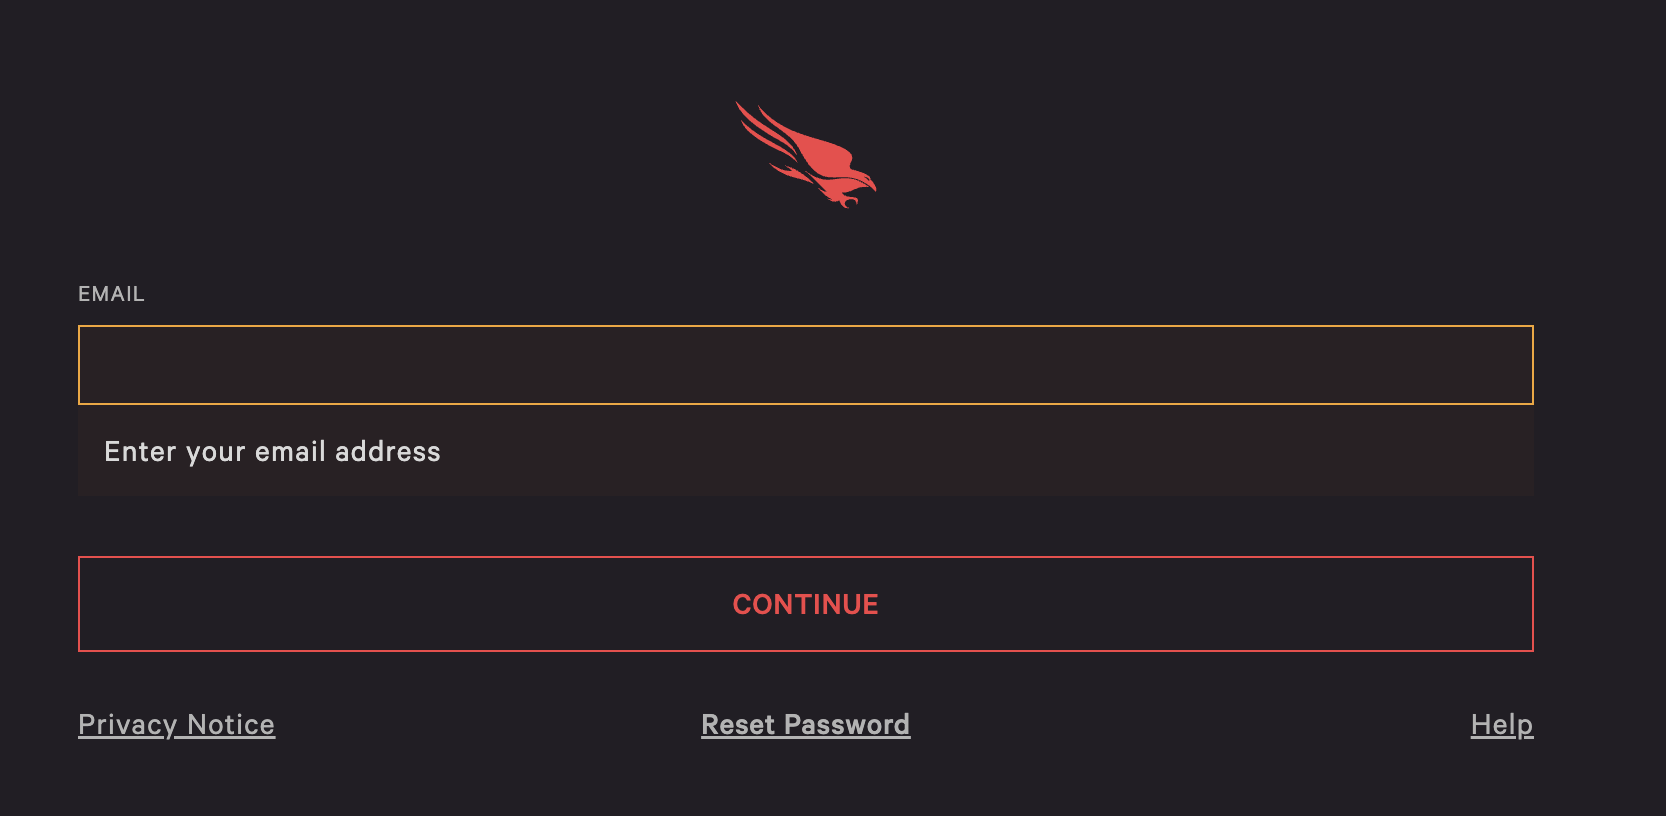
- Sign in using your email address and password. After you've completed the two-factor authentication, you'll be directed to the application dashboard.
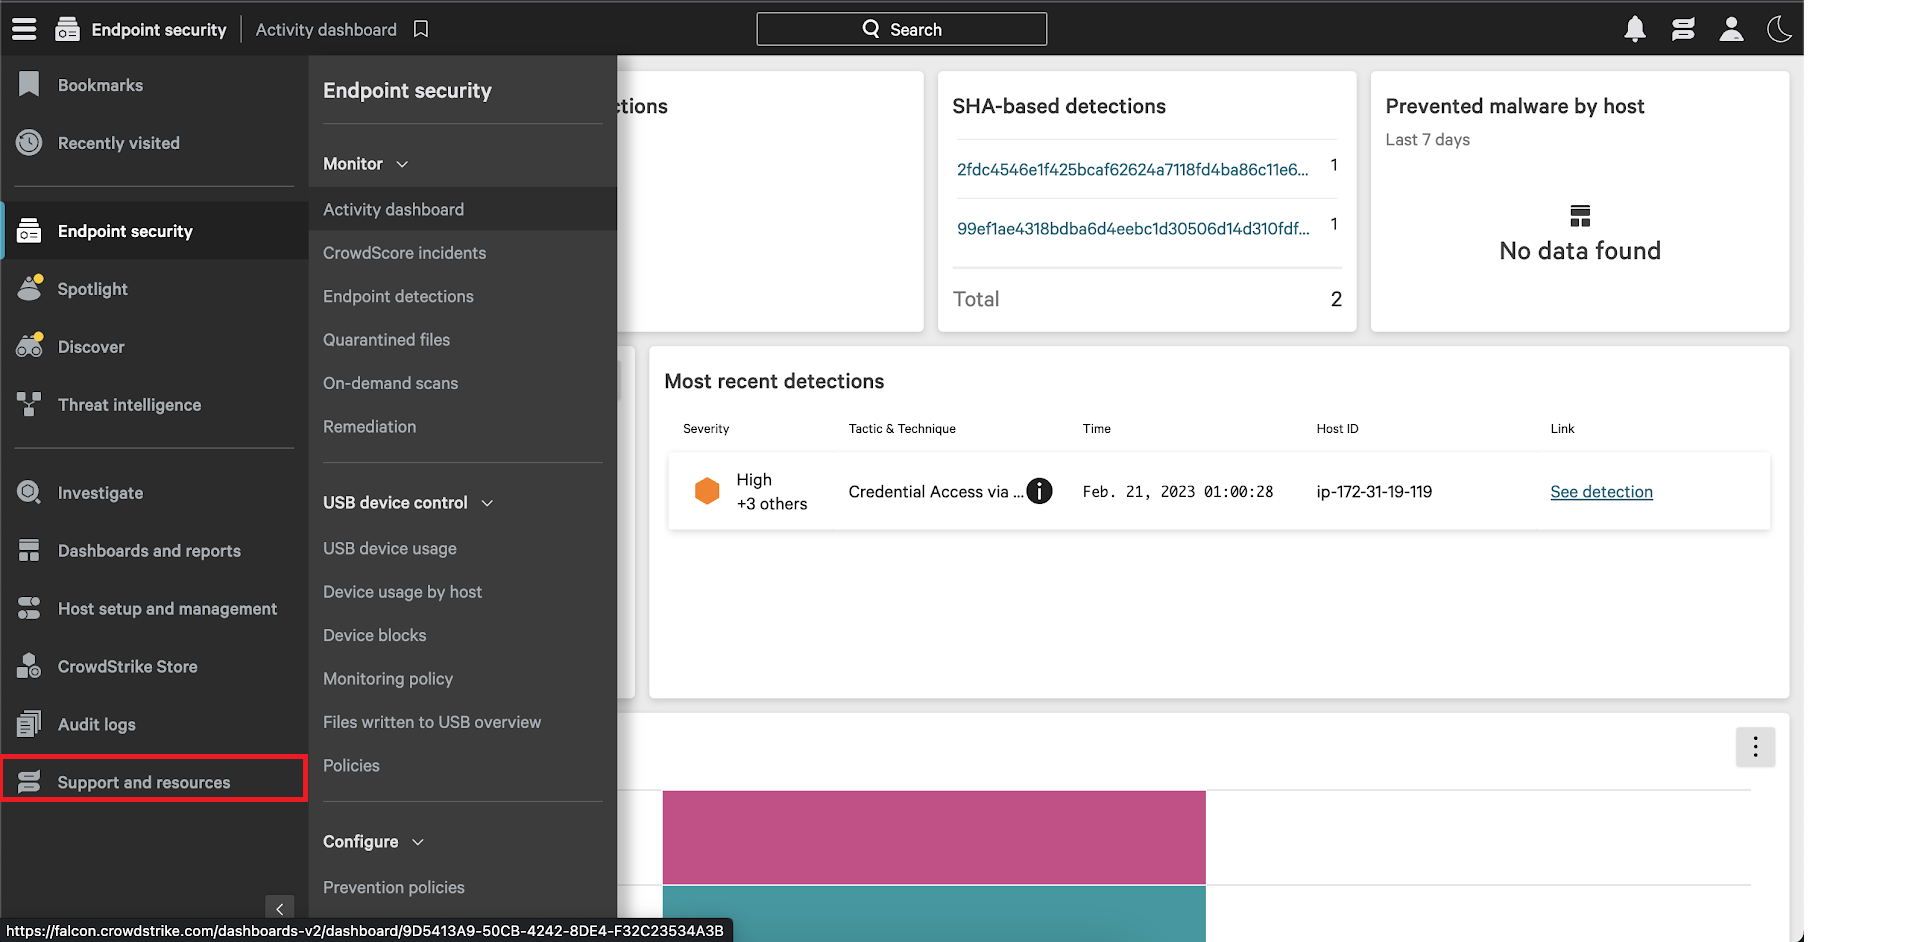
- From the CrowdStrike Spotlight console, select the Support and resources option from the menu.
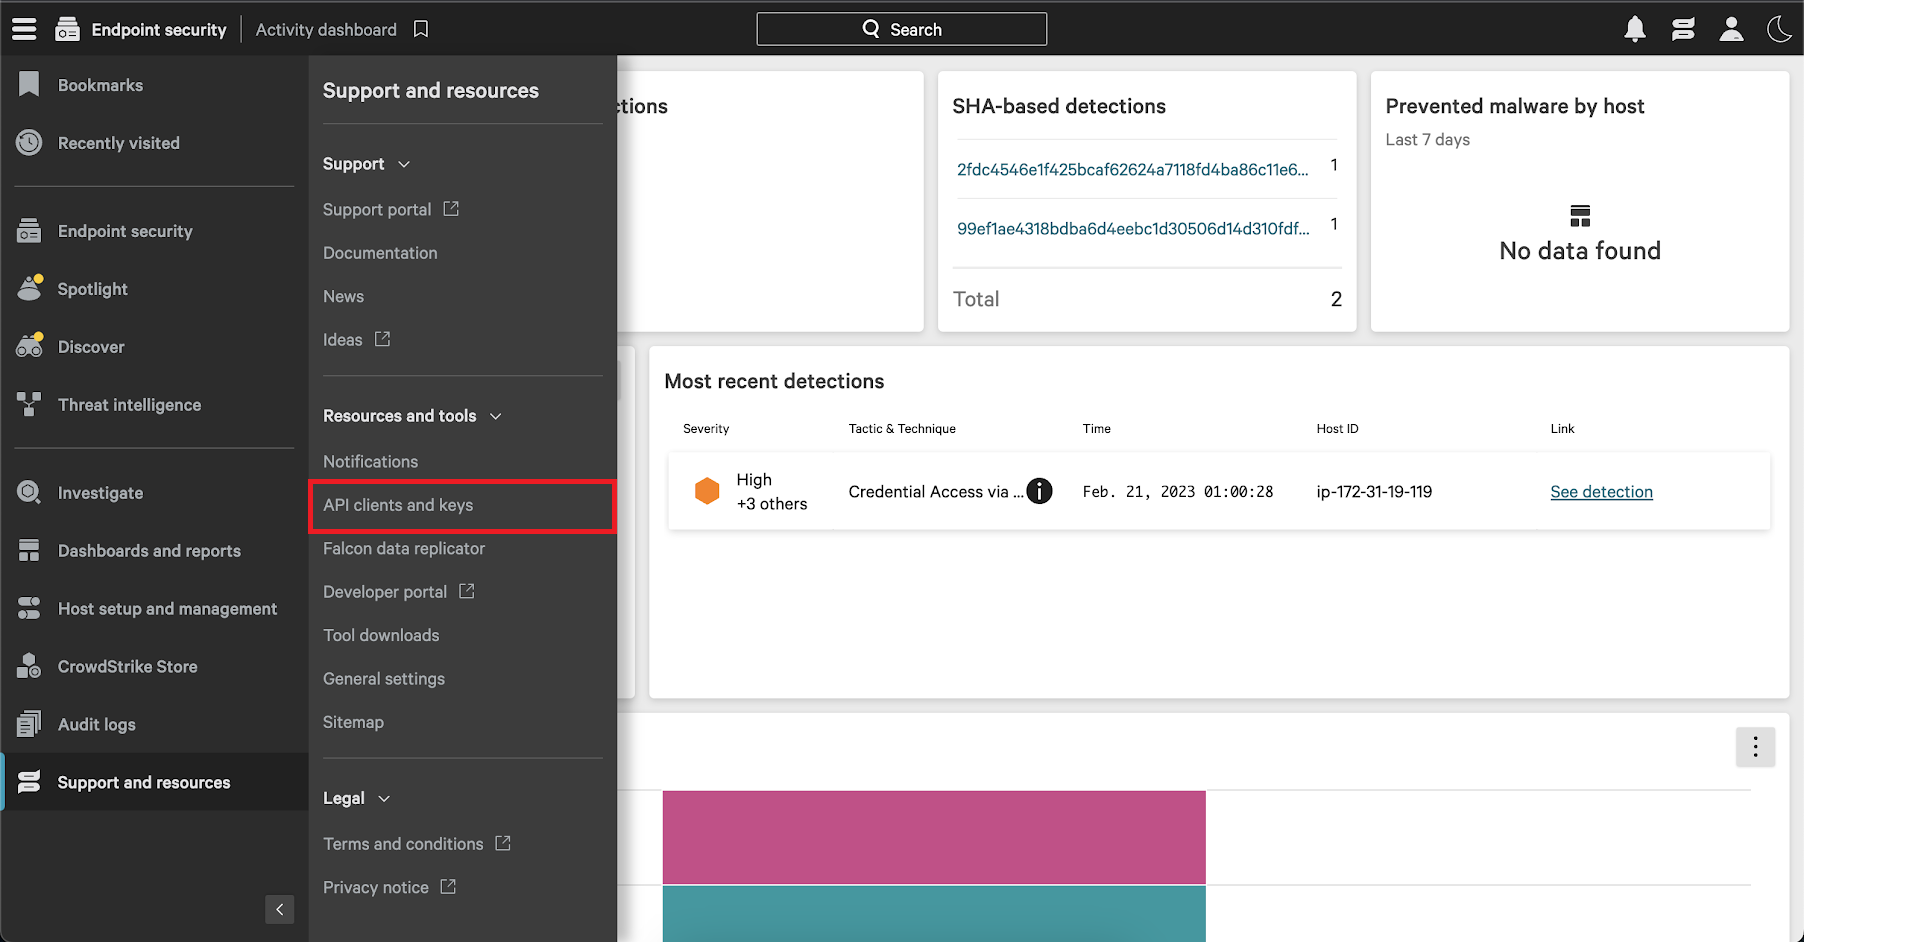
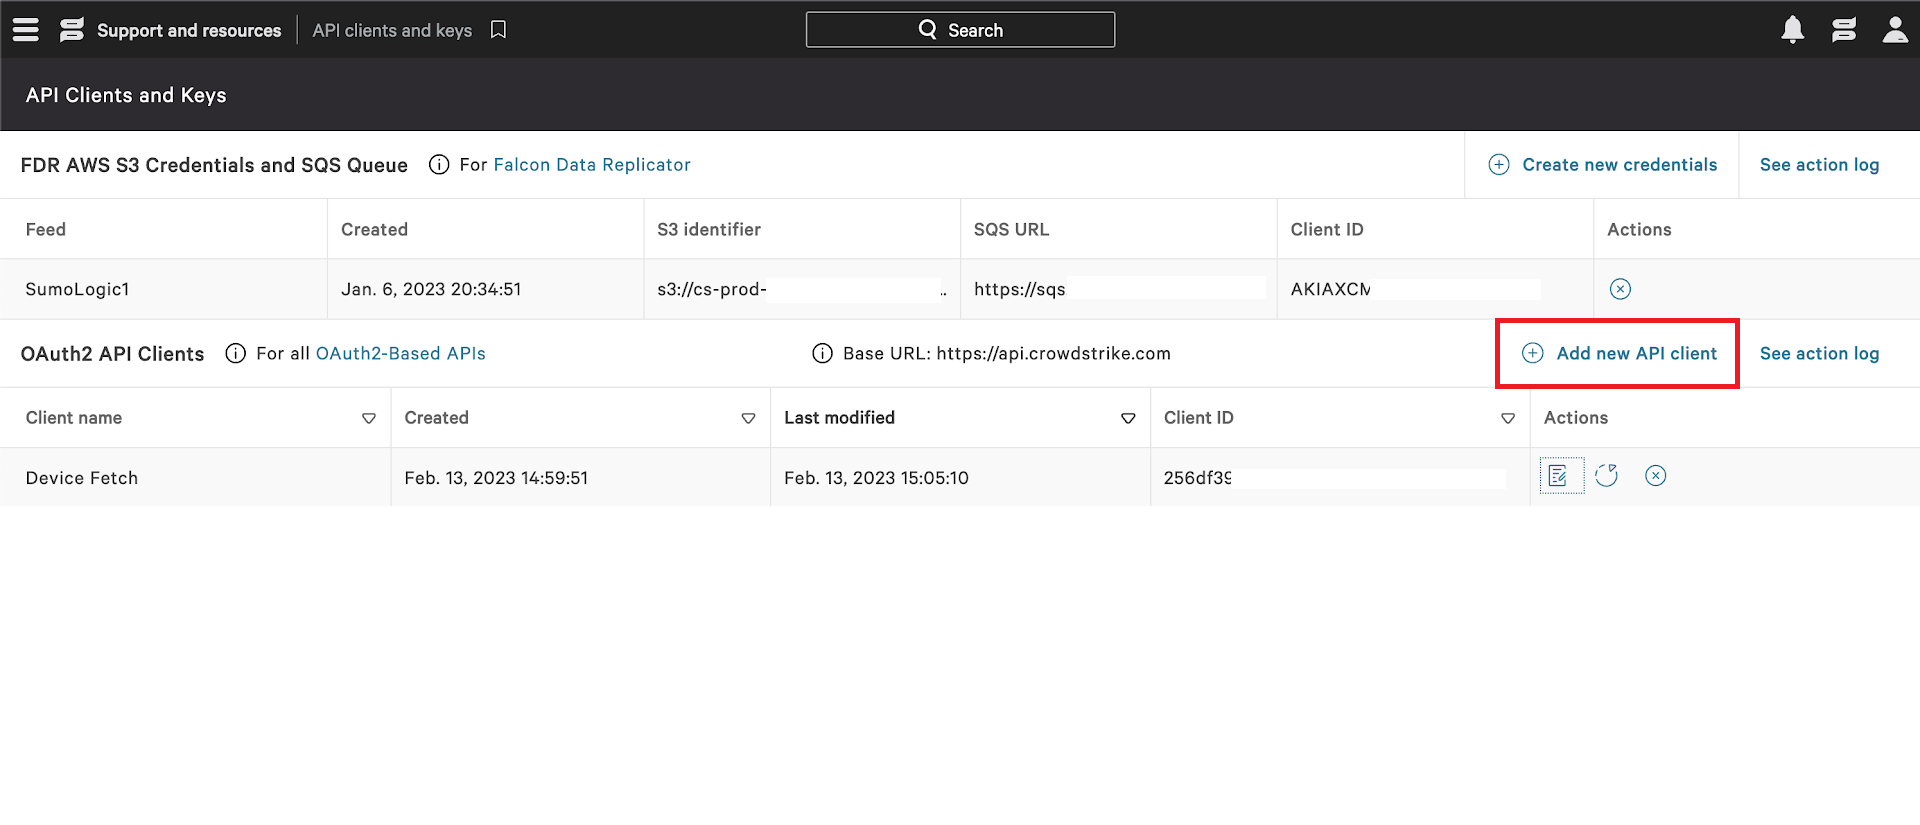
- In the Resources and tools section, select the API clients and keys option. You can then view existing clients or add new API clients from there.
- Click Add new API client. You will be prompted to give a descriptive name and select the appropriate API scopes.
- Provide a proper name and description and select the spotlight-vulnerabilities:read scope. Click on
ADDto complete the process. - After you click on
ADDa dialogue box will appear with the Client ID, Client Secret and Base URL. Copy and save the Client Id, Client Secret and Base URL to a folder location because you will need them when creating the CrowdStrike Spotlight source.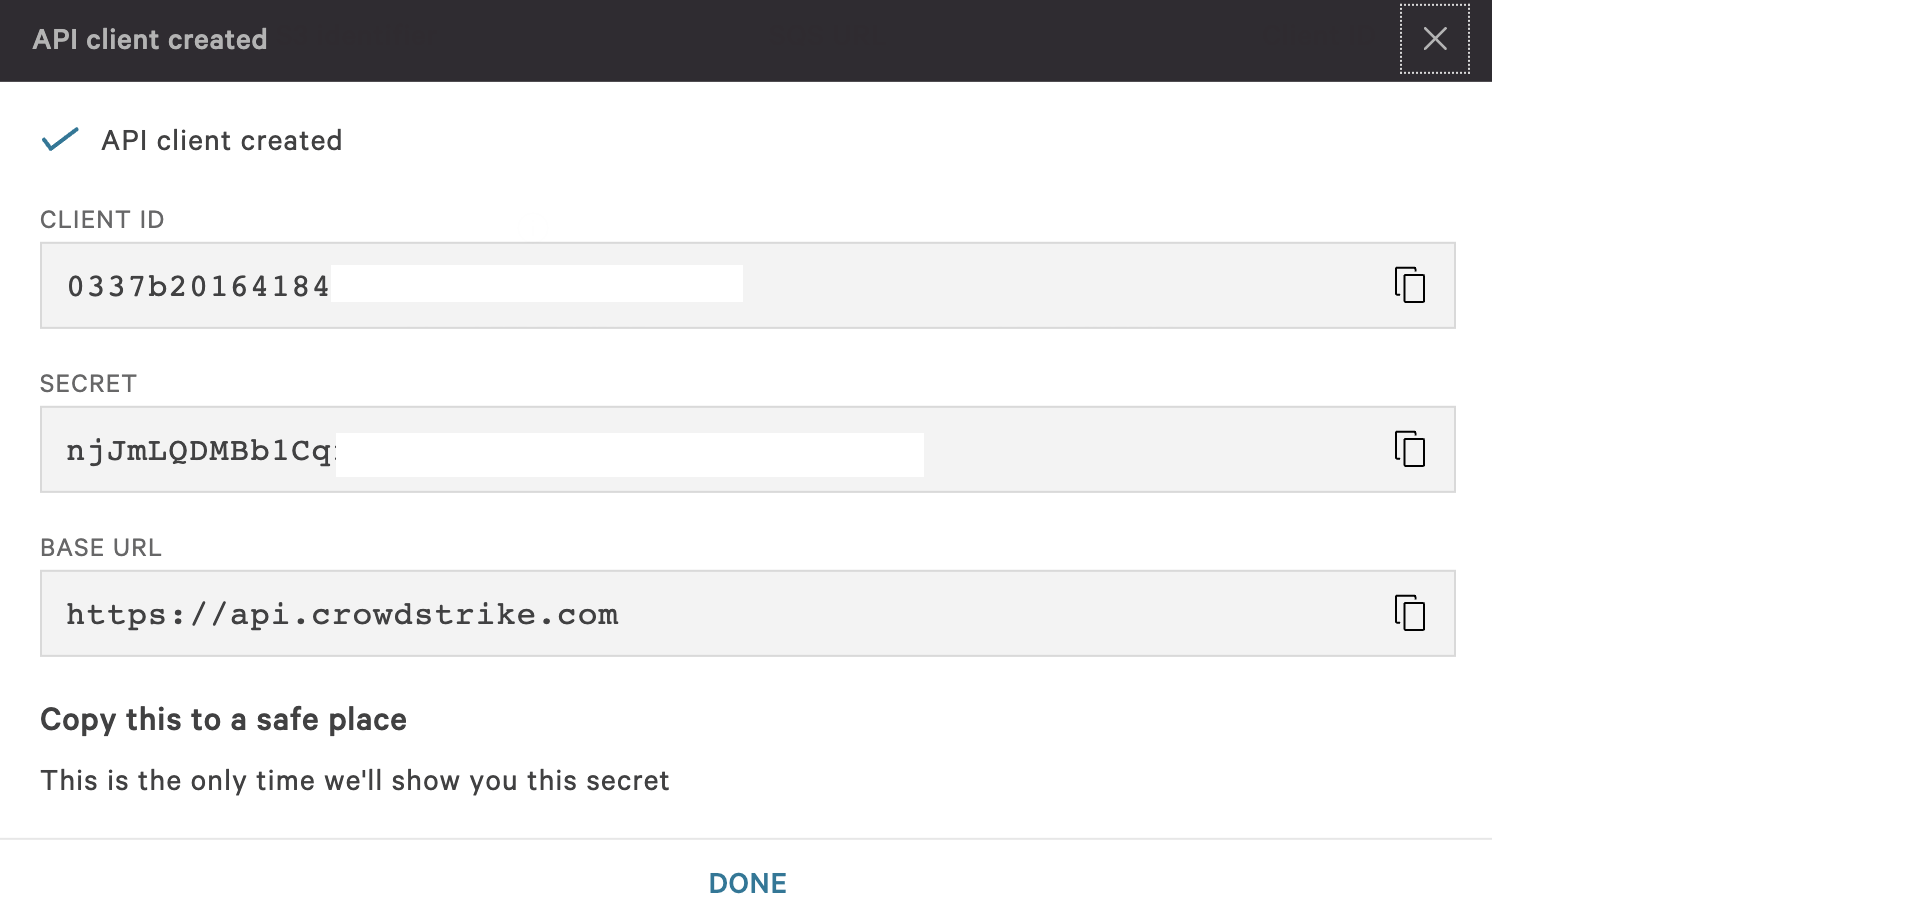
Region
-
Identify your Region based on your Base URL. The region can be selected from the list below.
Region Base URL US-1 https://api.crowdstrike.com US-2 https://api.us-2.crowdstrike.com EU-1 https://api.eu-1.crowdstrike.com US-GOV-1 https://api.laggar.gcw.crowdstrike.com
Source configuration
When you create a CrowdStrike Spotlight Source, you add it to a Hosted Collector. Before creating the Source, identify the Hosted Collector you want to use or create a new Hosted Collector. For instructions, see Configure a Hosted Collector.
To configure the CrowdStrike Spotlight Source:
- New UI. In the Sumo Logic main menu select Data Management, and then under Data Collection select Collection. You can also click the Go To... menu at the top of the screen and select Collection.
Classic UI. In the main Sumo Logic menu, select Manage Data > Collection > Collection. - On the Collectors page, click Add Source next to a Hosted Collector.
- Search for and select CrowdStrike Spotlight icon.
- Enter a Name to display for the Source in the Sumo Logic web application. The description is optional.
- (Optional) For Source Category, enter any string to tag the output collected from the Source. Category metadata is stored in a searchable field called
_sourceCategory. - (Optional) Fields. Click the +Add Field link to define the fields you want to associate. Each field needs a name (key) and value.
 A green circle with a check mark is shown when the field exists and is enabled in the Fields table schema.
 An orange triangle with an exclamation point is shown when the field doesn't exist in the Fields table schema. In this case, you'll see an option to automatically add or enable the nonexistent fields to the Fields table schema. If a field is sent to Sumo Logic that does not exist in the Fields schema it is ignored, known as dropped.
- In Region, choose the region as per your Base URL. See Region section to know your region.
- In Client ID, enter the Client ID you generated and secured from the API Client section.
- In Client Secret, enter the Client Secret you generated and secured from the API Secret section.
- In Facet, select the type of data to be returned for each vulnerability entity which allows to limit the response to just the information you want.
- (Optional) The Polling Interval is set for one hour by default, you can adjust it based on your needs. This sets how often the integration will fetch complete vulnerability instance data that has been updated within most recent polling interval duration.
- When you are finished configuring the Source, click Save.
JSON schema
Sources can be configured using UTF-8 encoded JSON files with the Collector Management API. See how to use JSON to configure Sources for details.
| Parameter | Type | Value | Required | Description |
|---|---|---|---|---|
| schemaRef | JSON Object | {"type":"CrowdStrike Spotlight"} | Yes | Define the specific schema type. |
| sourceType | String | "Universal" | Yes | Type of source. |
| config | JSON Object | Configuration object | Yes | Source type specific values. |
Configuration Object
| Parameter | Type | Required | Default | Description | Example |
|---|---|---|---|---|---|
| name | String | Yes | null | Type a desired name of the source. The name must be unique per Collector. This value is assigned to the metadata field _source. | "mySource" |
| description | String | No | null | Type a description of the source. | "Testing source" |
| category | String | No | null | Type a category of the source. This value is assigned to the metadata field _sourceCategory. See best practices for details. | "mySource/test" |
| fields | JSON Object | No | null | JSON map of key-value fields (metadata) to apply to the Collector or Source. Use the boolean field _siemForward to enable forwarding to SIEM. | {"_siemForward": false, "fieldA": "valueA"} |
| region | String | Yes | null | The Region of your CrowdStrike account. | |
| clientID | String | Yes | null | The CrowdStrike Client ID you want to use to authenticate collection requests. | |
| clientSecret | String | Yes | null | The CrowdStrike Client Secret you want to use to authenticate collection requests. | |
| facet | Checkbox | No | All selected | Type of data to be returned for each vulnerability entity which allows to limit the response to just the information you want. | |
| pollingInterval | Integer | No | 1 hour | This sets how often the Source checks for data. |
JSON example
loading...
Terraform example
loading...
Troubleshooting
CrowdStrike Spotlight API returns 500 error code
We recently observed an increasing number of unexpected 500 errors from CrowdStrike Spotlight API. It usually happens after some successful polling cycles. During paginating vulnerabilities CrowdStrike Spotlight API starts returning 500 error shown below:
{
  "meta": {
    "query_time": 1.52e-7,
    "powered_by": "crowdstrike-api-gateway",
    "trace_id": "custom_trace_id"
  },
  "errors": [
    {
      "code": 500,
      "message": "Internal Server Error: Please provide trace-id='custom_trace_id' to support"
    }
  ]
}
Solution
This issue is from CrowdStrike platform. If you come across this error, please contact CrowdStrike Spotlight support with trace id included in the error response.
FAQ
Click here for more information about Cloud-to-Cloud sources.