Microsoft Exchange Trace Logs
The Microsoft Exchange Trace Logs Source collects email trace logs from the Office 365 reporting web service via the MessageTrace report under “Exchange reports”. Specific API reference information can be found here.
Data collected
| Polling Interval | Data |
|---|---|
| 5 min | Email trace logs |
Setup
Vendor configuration
This source requires you to register an application within Azure Active Directory, generate a client secret, give permissions and generate an Oauth 2.0 authorization code. Follow the directions below within your Azure environment.
Register into Azure Application
An Azure application with specific permissions is required for Sumo Logic to access your Exchange Trace logs from Office 365. You need a subscription to Office 365 and a subscription to Azure that has been associated with your Office 365 subscription to set up this collection.
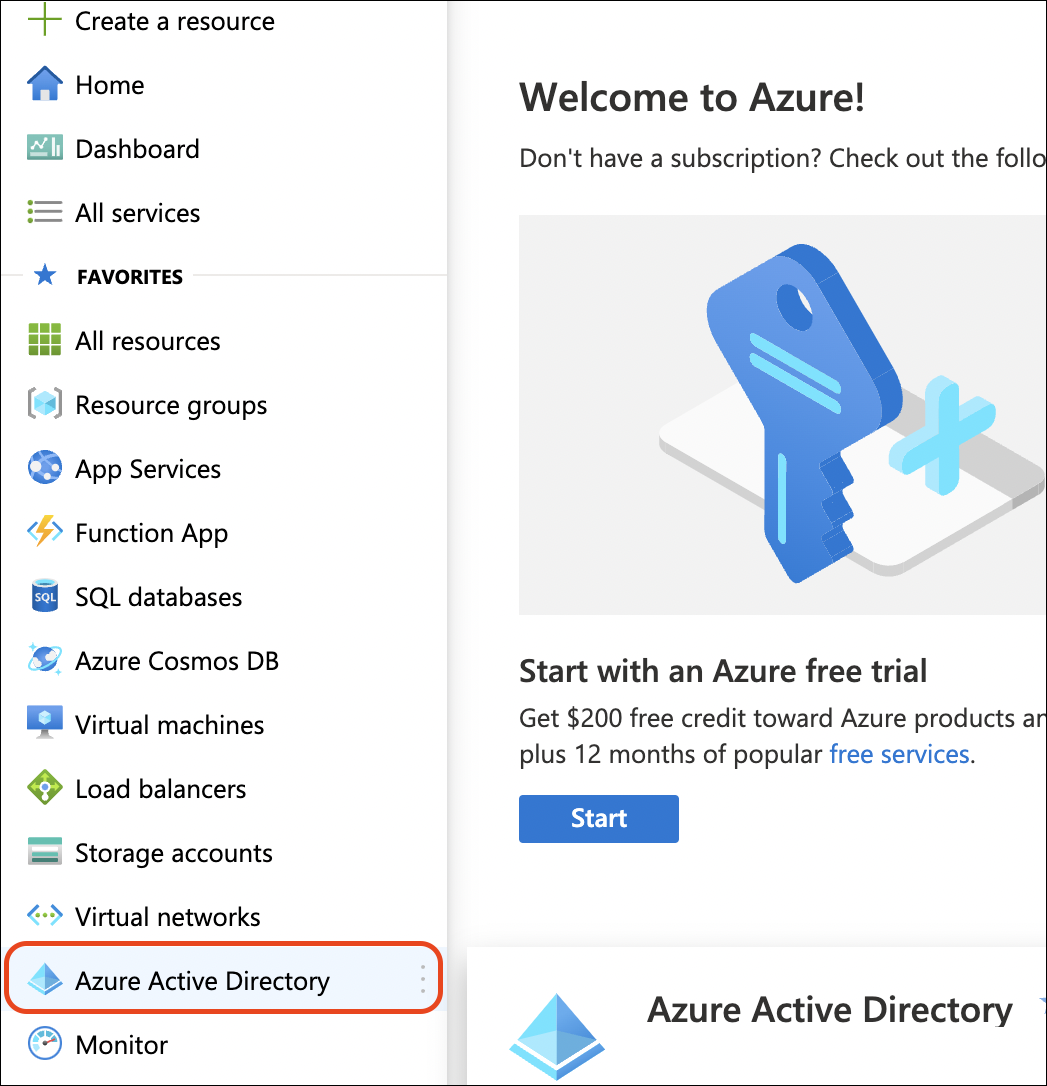
- Sign in to your Azure Portal with your administrator account at https://portal.azure.com
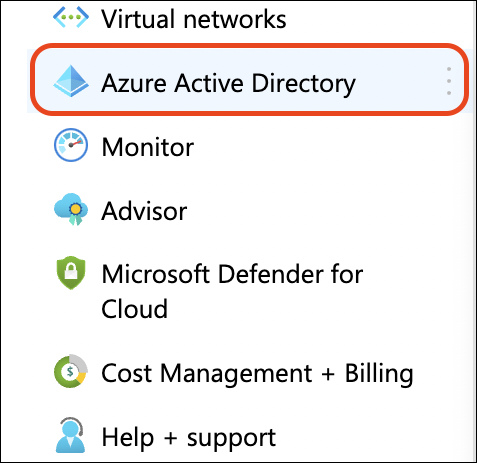
- Use the left navigation pane (might be hidden under the menu icon) and select Azure Active Directory.
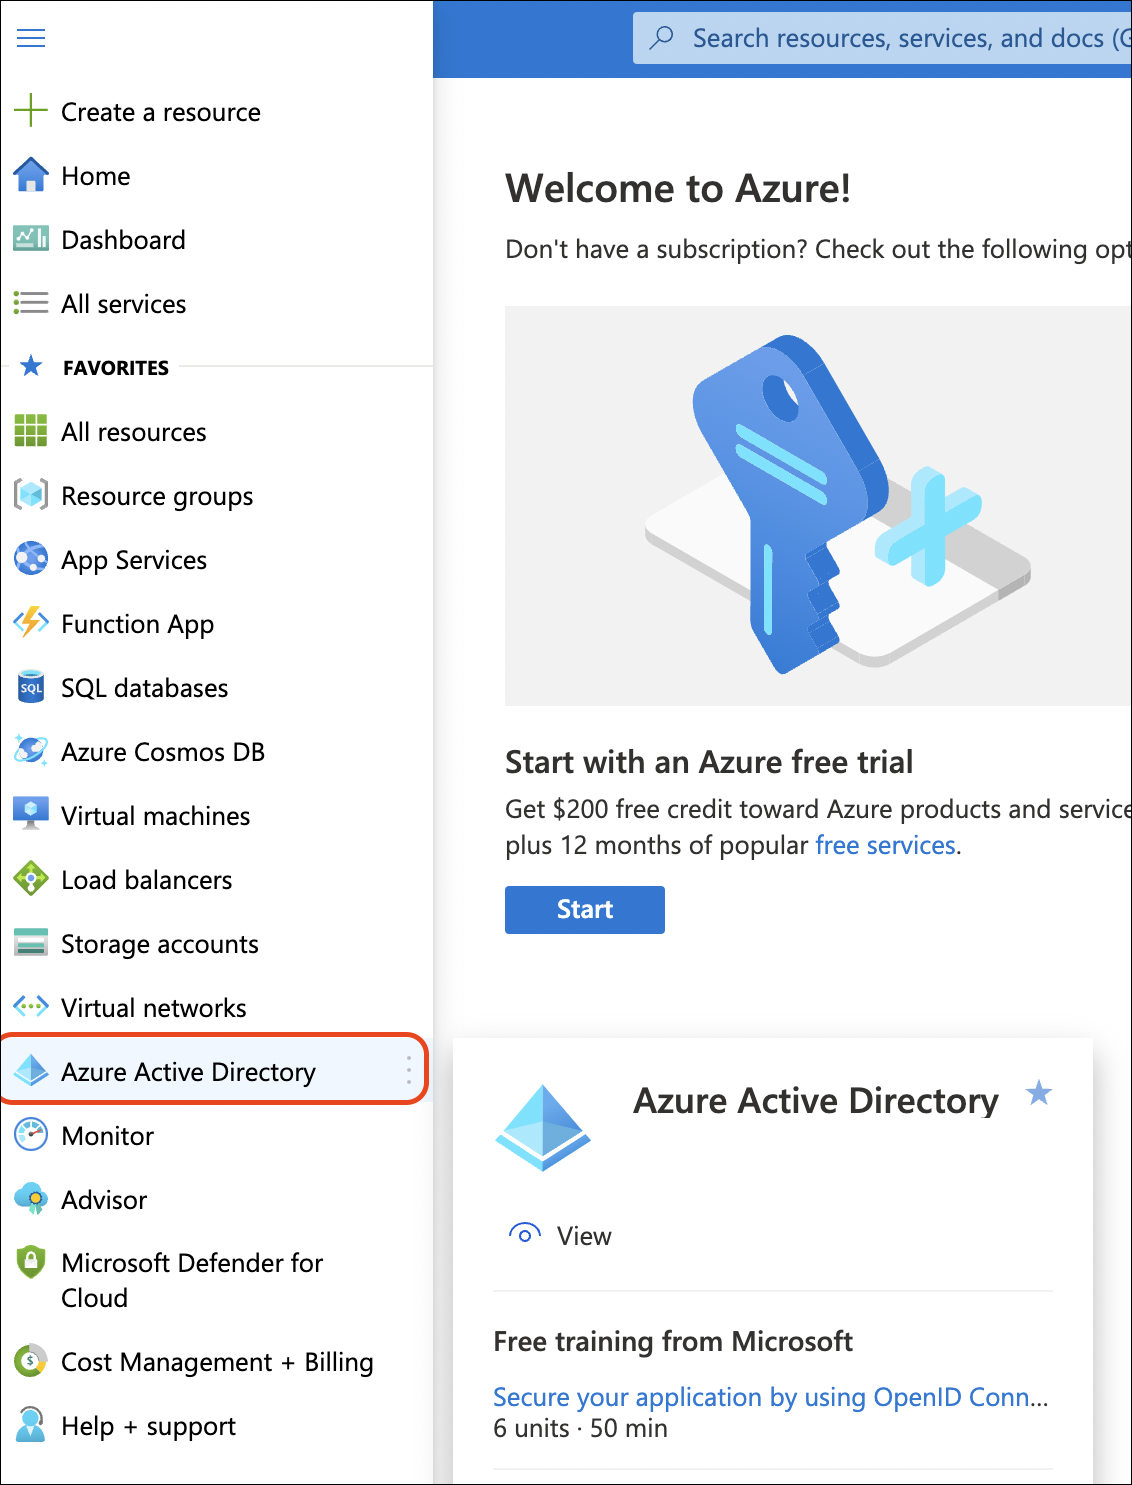
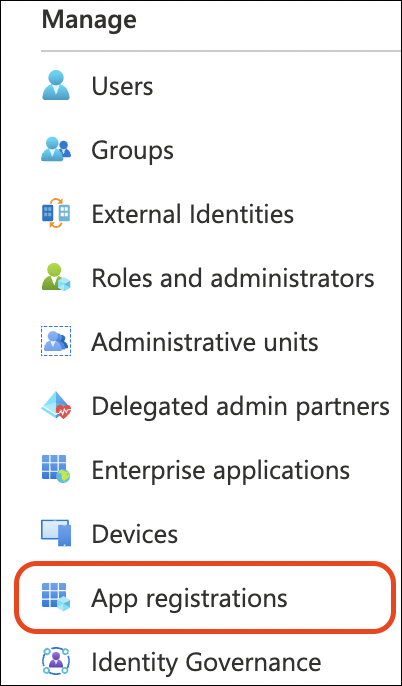
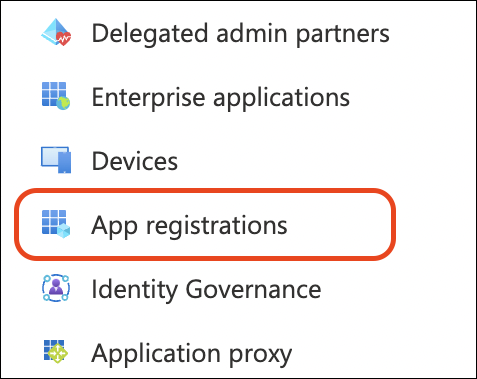
- You will see a menu of options for your Azure Active Directory on the left. Click App registrations.
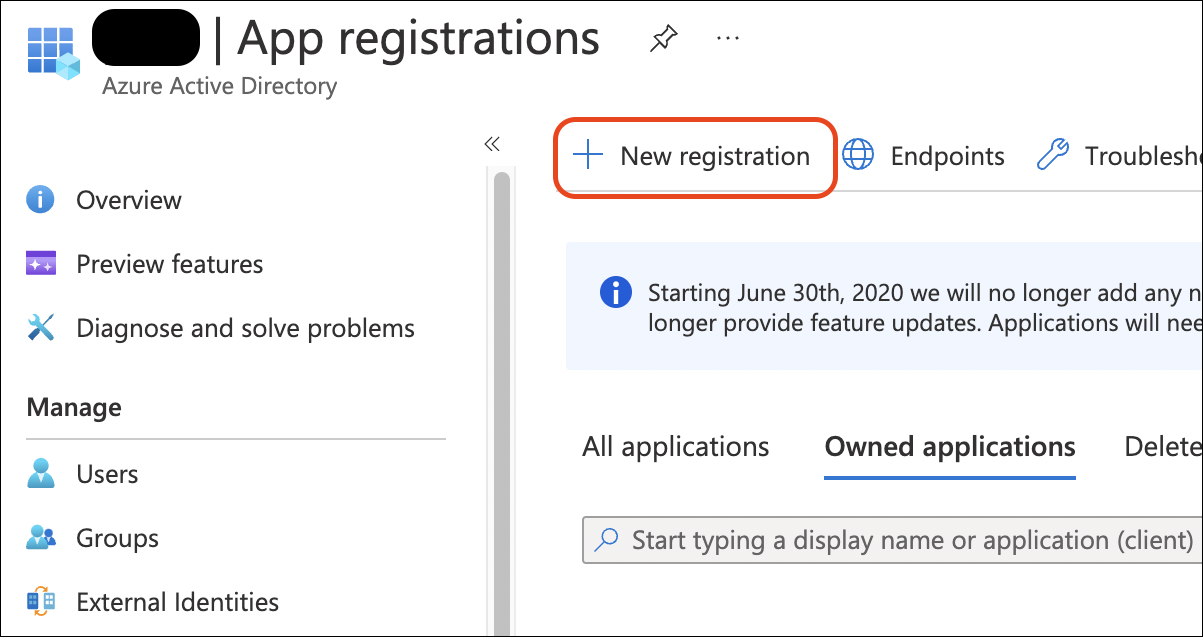
- Click New registration
- Enter the required information as shown in the screenshot. Click Register.
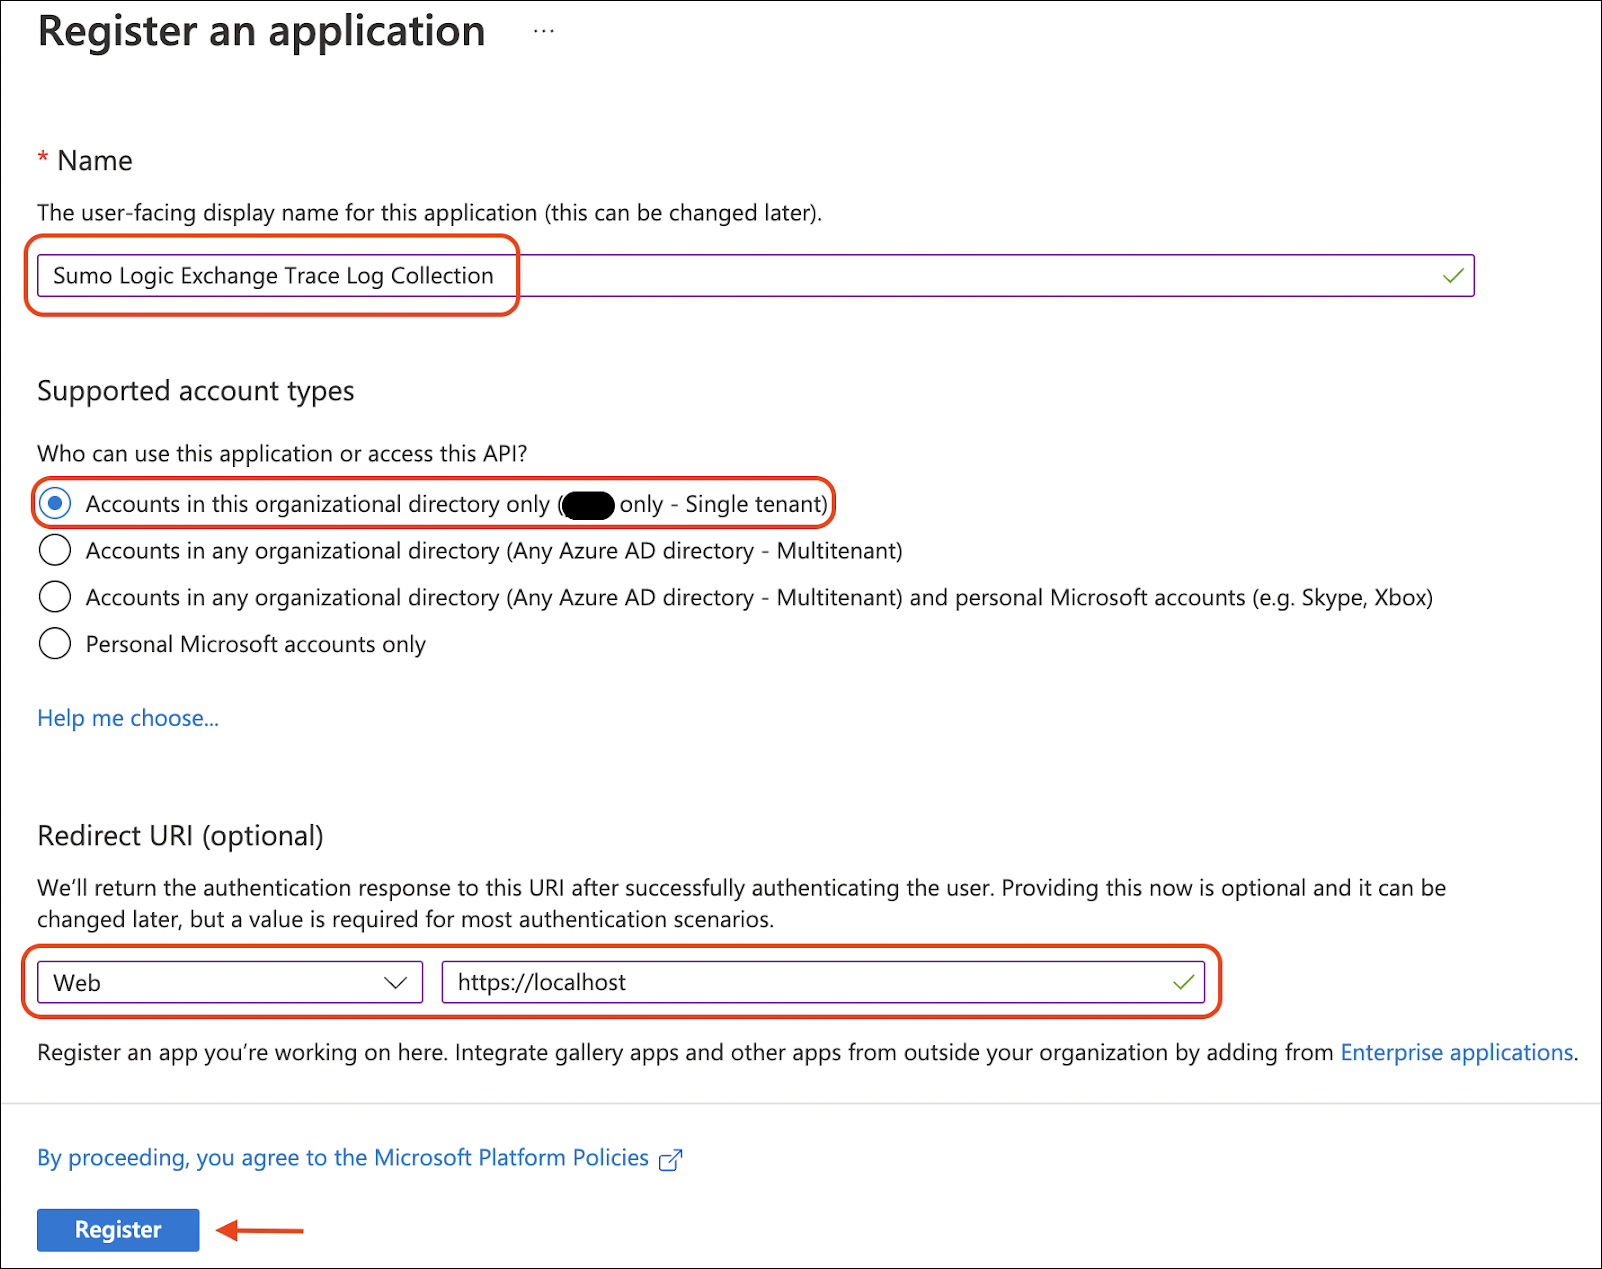
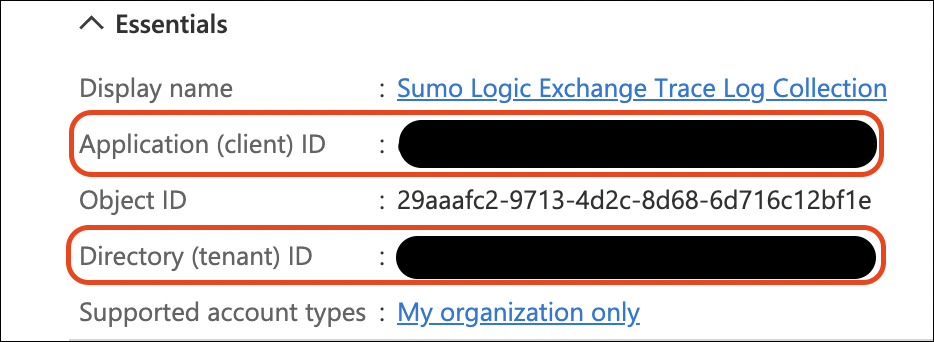
- You are redirected to the overview page of your newly created application. Take note of the Application (client) ID and the Directory (tenant) ID as they will be required later.
Create Client Secret
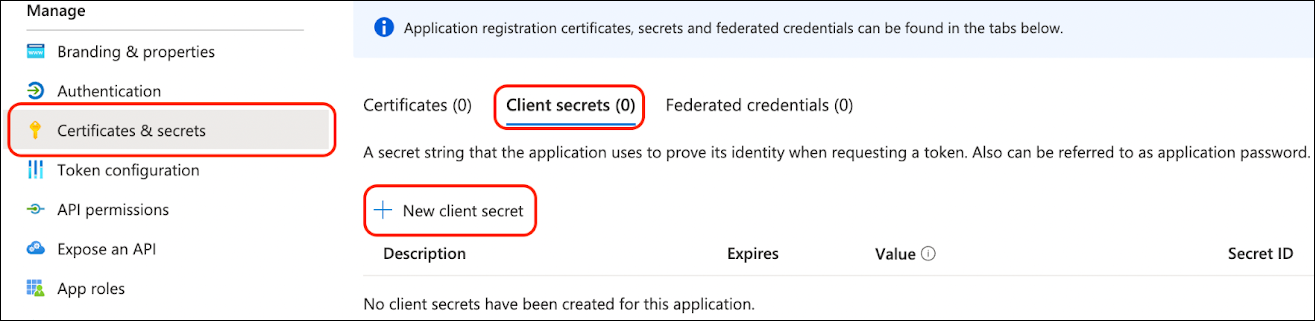
- Within your Azure application setup on the App Registration page, click Certificates & secrets from the left navigation pane and then click New client secret.
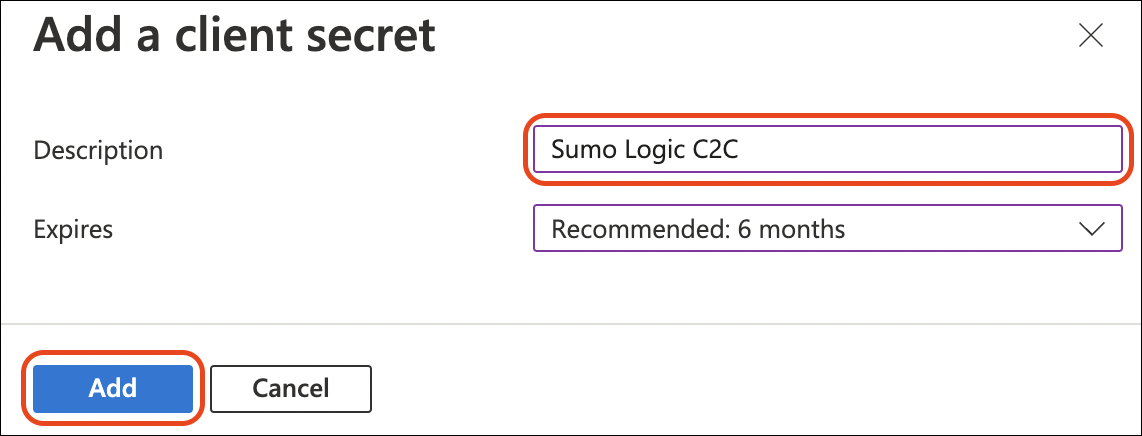
- A right pane will slide out asking for a description and expiration for the secret. This secret is used by Sumo Logic to connect via OAuth 2.0 to establish continuous access to your Exchange Trace logs with an auto-generated refresh token.
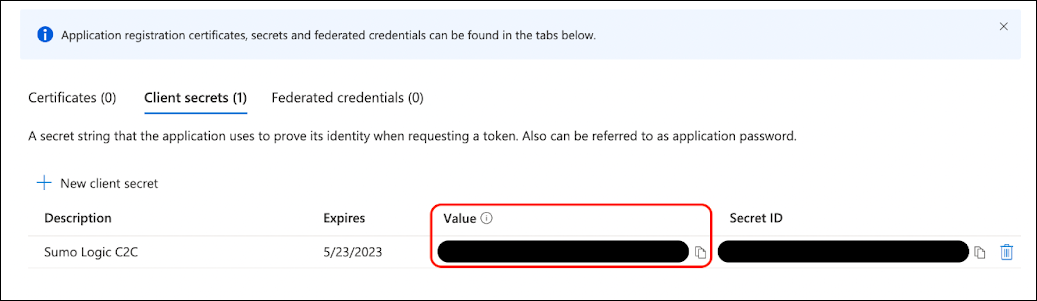
- Take note of the hidden value displayed on this page. After leaving this page, you will no longer be able to see this value from Azure. We recommend storing it in a protected password management vault.
Assign Azure Roles to Your Application
The Azure roles Global Reader and Security Reader are required for your Azure application to collect your Exchange Trace Logs.
- Click back on the main left navigation using the menu in the upper left corner of the screen and go back to the Azure Active Directory page.
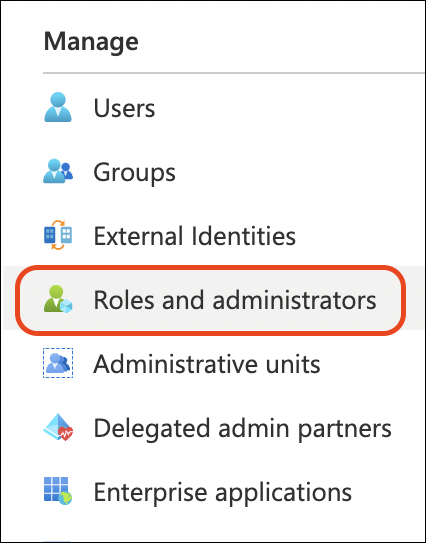
- Click Roles and Administrators in the left pane navigation of your Azure Active Directory page.
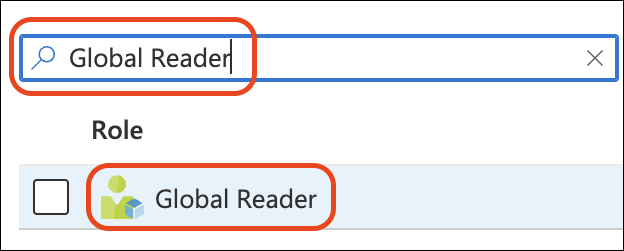
- Search for the name Global Reader in the filter search bar and click Global Reader role text. Be sure to not click the checkbox next to Global Reader and instead click on the text name with the checkbox deselected.
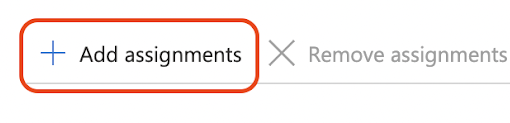
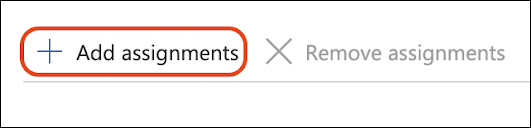
- Click Add assignments for the Global Reader.
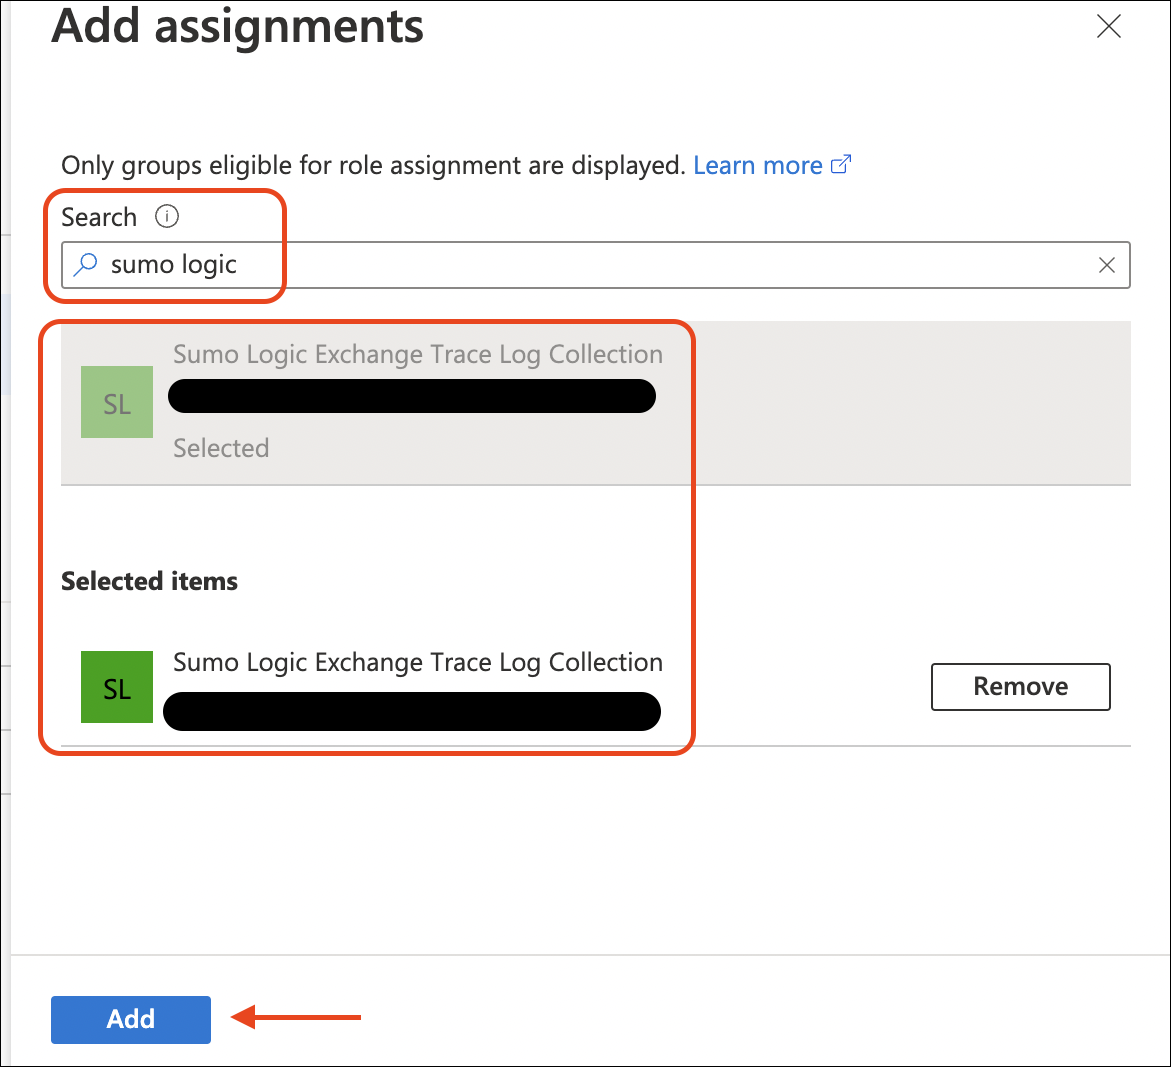
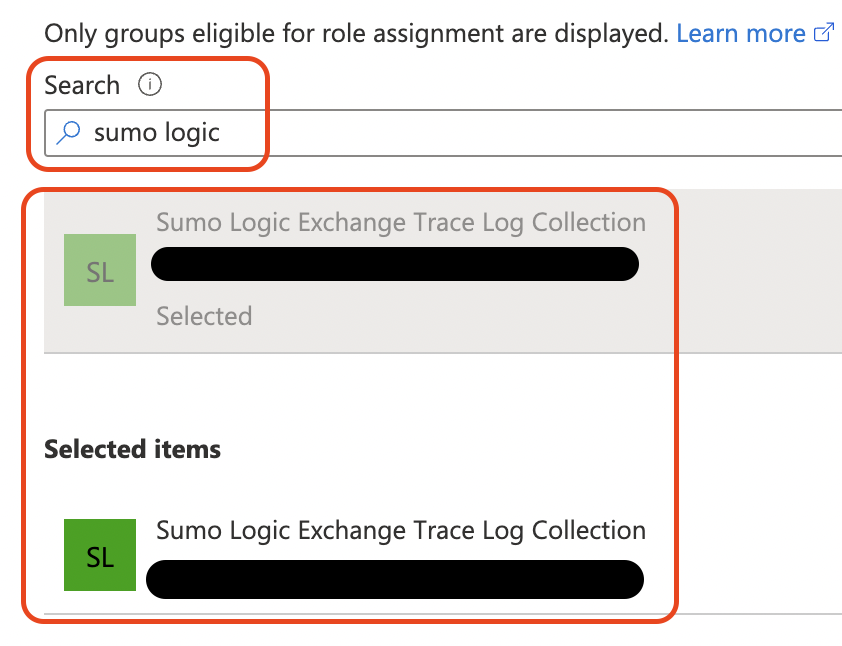
- Add assignments pane on the right allows you to search for your Azure application to assign the rights. Search for your application, select it and click Add.
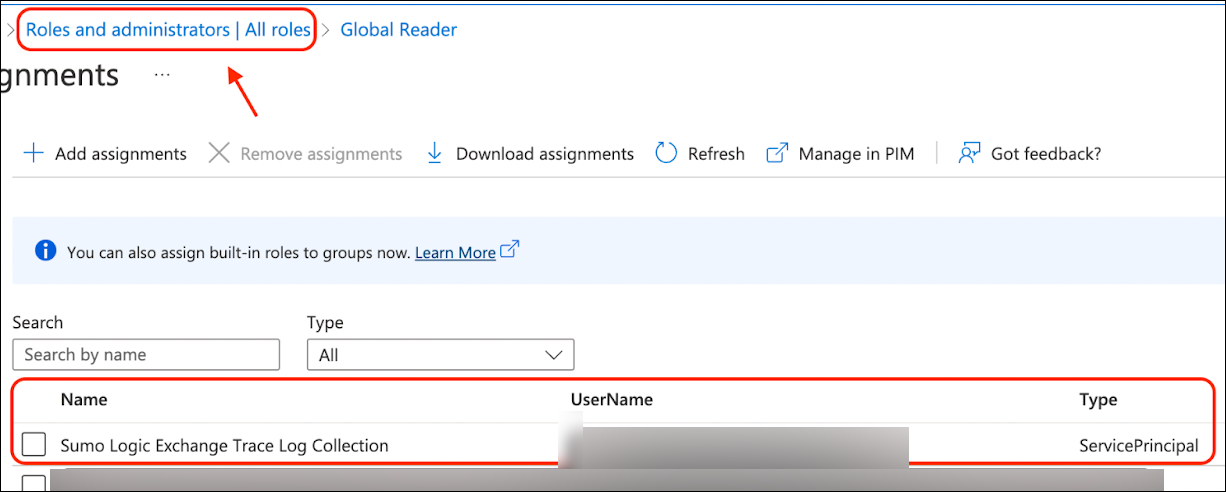
- Click Roles and administrators|All roles at the top of the page to view a full list of roles.
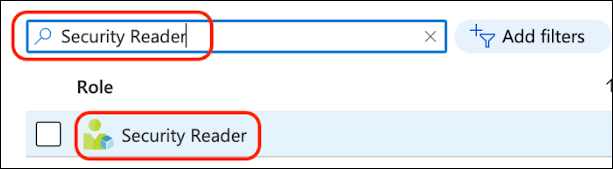
- Update your filter to Security Reader and click Security Reader text. Be sure to not click the checkbox next to Security Reader and instead click on the text name with the checkbox deselected.
- Click Add assignments for the Security Reader.
- Similar to the previous step, search and add the Azure application the role.
Grant API Permissions
We now need to grant specific API permissions to allow your Azure application access to the reports API.
- Click back on the main left navigation using the menu in the upper left corner of the screen and go back to the Azure Active Directory page.
- You will see a menu of options for your Azure Active Directory on the left. Click App registrations.
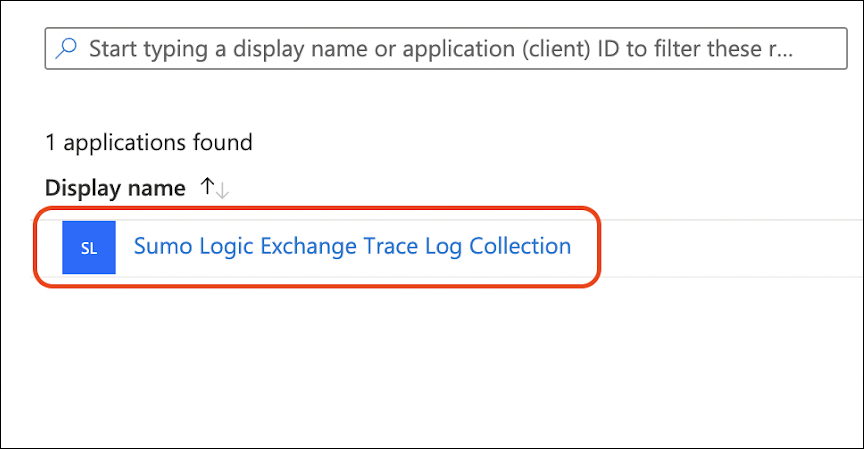
- Click on your Azure Application.
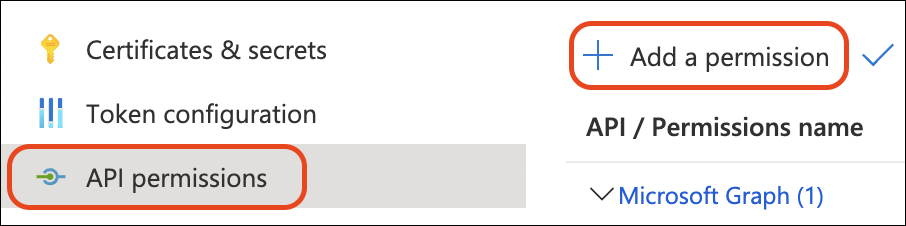
- Click API permissions in the left pane of your Azure application and click Add a permission.
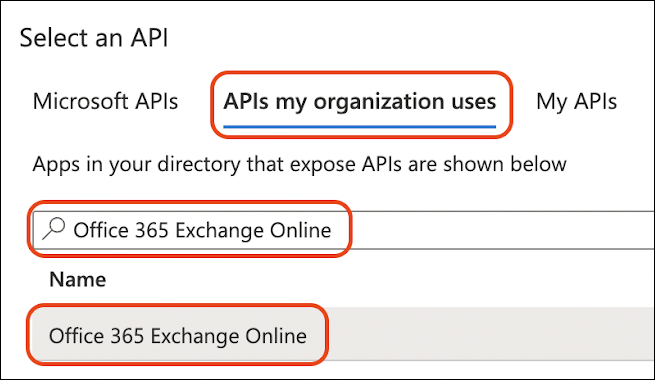
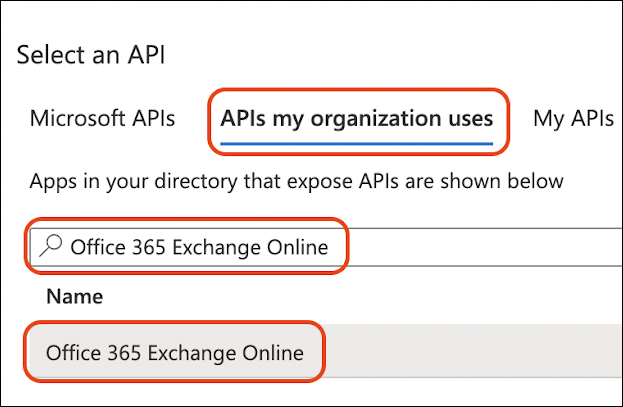
- A right pane slides out. Click APIs my organization uses, search for the text Office 365 Exchange Online, and click on the result.
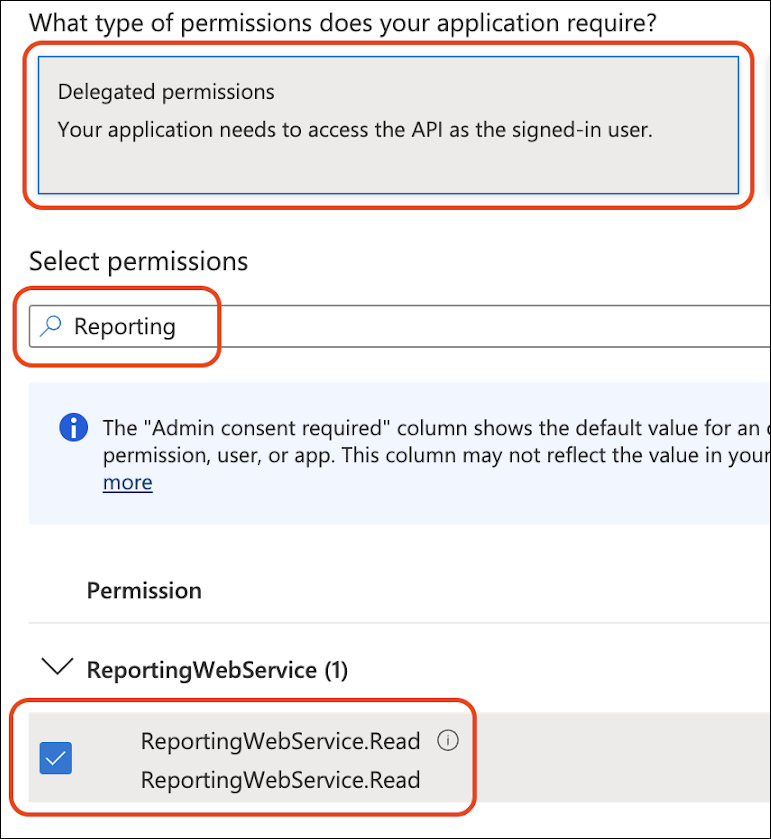
- On the next page, click Delegated permissions, search for the text Reporting, check the checkbox next to
ReportingWebService.Readand click Add permissions.
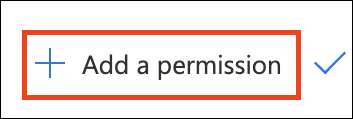
- Now we need to add a second permission. Click Add a permission again.
- A right pane slides out. Click APIs my organization uses, search for the text Office 365 Exchange Online and click on the result.
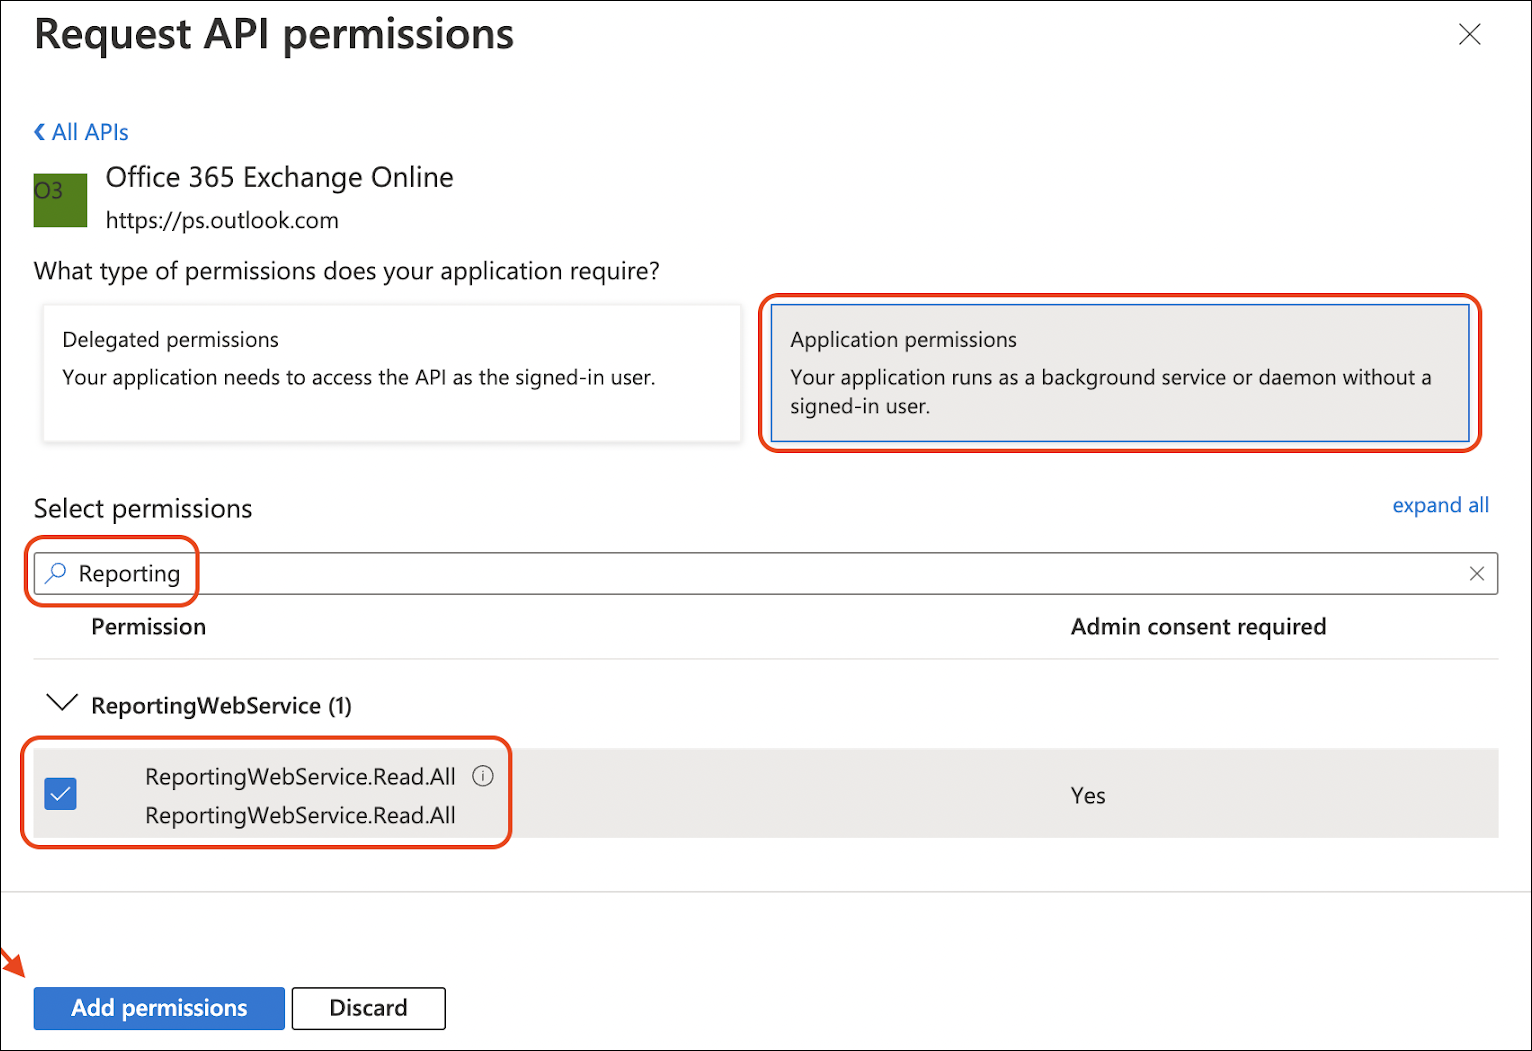
- This time we are adding a similar permission as before. Click Application permissions, search for the text Reporting, check the checkbox next to
ReportingWebService.Read.Alland click Add permissions.
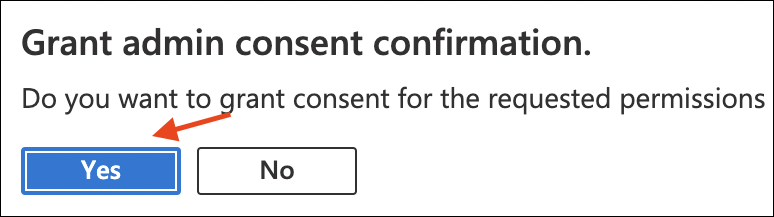
- You should now see both permissions, but you will need to click Grant admin consent to finalize the API permissions and confirm it.
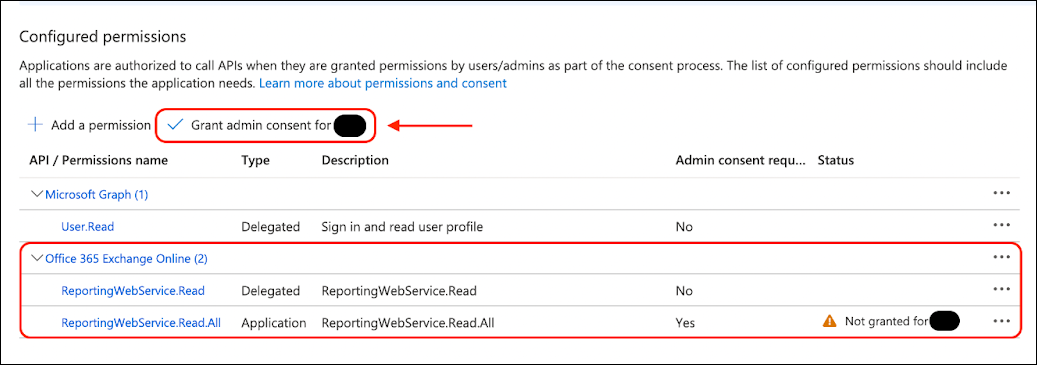
- Verify your API permissions are correct and granted.

Oauth 2.0 Generate Authorization Code
This authorization code will expire within 1 hour. Set up your Sumo Logic source before it expires.
- In a browser where you are already authenticated to your Azure portal, navigate to the URL below, but replace
{{client_id}}with yourApplication (client) IDfrom the earlier steps.
https://login.windows.net/common/oauth2/authorize?response_type=code&resource=https://outlook.office365.com&client_id={{client_id}}&redirect_uri=https://localhost
- If successful, you will be redirected to a blank page with
codeandsession_stateas URL parameters. Write down thecodevalue as this is your Oauth 2.0 authorization code you will use to configure the Sumo Logic C2C. This code is over 700 characters in length. Be careful to not copy the&session_state=at the end of the code. See below for an example:
https://localhost/?code={{REDACTED_AUTHORIZATION_CODE}}&session_state=50efb7a9-7678-4186-8b5b-abbb16d7b1ca#
Source configuration
When you create a Microsoft Exchange Trace Logs Source, you add it to a Hosted Collector. Before creating the Source, identify the Hosted Collector you want to use or create a new Hosted Collector. For instructions, see Configure a Hosted Collector.
To configure a Microsoft Exchange Trace Logs Source:
- Classic UI. In the main Sumo Logic menu, select Manage Data > Collection > Collection.
New UI. In the Sumo Logic top menu select Configuration, and then under Data Collection select Collection. You can also click the Go To... menu at the top of the screen and select Collection. - On the Collectors page, click Add Source next to a Hosted Collector.
- Search for and select MS Exchange Trace Logs.
- Enter a Name for the Source. The description is optional.
- (Optional) For Source Category, enter any string to tag the output collected from the Source. Category metadata is stored in a searchable field called
_sourceCategory. - (Optional) Fields. Click the +Add Field link to define the fields you want to associate, each field needs a name (key) and value.
 A green circle with a check mark is shown when the field exists in the Fields table schema.
 An orange triangle with an exclamation point is shown when the field doesn't exist in the Fields table schema. In this case, an option to automatically add the nonexistent fields to the Fields table schema is provided. If a field is sent to Sumo that does not exist in the Fields schema it is ignored, known as dropped.
- Application (client) ID. Enter your client ID from your Azure Application. This should be a Globally Unique Identifier aka GUID.
- Directory (tenant) ID. Enter your tenant ID from your Azure Application. This should be a Globally Unique Identifier aka GUID.
- Secret. Enter your client secret generated within your Azure Application.
- Oauth 2.0 Authorization Code. Enter a valid authorization code. They expire within 1 hour of creation. The Microsoft Exchange Trace Logs Source will use this temporary code to automatically generate and rotate your API tokens for accessing the data.
- Polling Interval Seconds. We recommend leaving this to its defaults. This value controls how often the Microsoft Exchange Trace Logs Source polls the the Microsoft APIs for new data.
- Collection Time Offset. Use this value to offset the collection in the past by some amount of time. Microsoft claims data can be missing from the API within the last 24 hours. Set this to
86400seconds aka 24 hours to help guarantee more complete results or reduce it if you are looking for more real time, but potentially incomplete data. - When you are finished configuring the Source, click Submit.
JSON schema
Sources can be configured using UTF-8 encoded JSON files with the Collector Management API. See how to use JSON to configure Sources for details.
| Parameter | Type | Value | Required | Description |
|---|---|---|---|---|
| schemaRef | JSON Object | {"type":"Microsoft Exchange Trace Logs"} | Yes | Define the specific schema type. |
| sourceType | String | "Universal" | Yes | Type of source. |
| config | JSON Object | Configuration object | Yes | Source type specific values. |
JSON example
loading...
Terraform example
loading...
Troubleshooting
Microsoft API Returns 400 Error Code
This API can return a 400 error code which could mean one of the following reasons:
- "The provided authorization code or refresh token has expired due to inactivity". Regenerate your authorization code and use it shortly after generation to update your Sumo Logic C2C source. This token will expire if not used quickly.
- "Invalid request. Request is malformed or invalid". This response error can occur if other parts of the configuration are incorrect such as an invalid "Client Secret Value" or incorrect set permissions. Ensure all of the setup steps are followed and the source has the correct configuration.
When querying for the Microsoft Exchange trace log messages, Microsoft API may sporadically return a HTML webpage titled "Sign in to Outlook" instead of JSON events.
This will force the health status of the source into an error state with the error text invalid character '<' looking for beginning of value as we try to JSON decode the data. The API will revert back to providing us the expected JSON events and collection will continue as there is no issue with the authentication, but it does cause the health status of the source to flip into an error state.
Our source keeps track of a time cursor for events and will only move the time cursor forward once we have successfully received, decoded the JSON, and sent the logs into Sumo Logic before we move the time cursor forward to ensure there is no data loss. If you experience this issue, contact Microsoft support.
FAQ
Click here for more information about Cloud-to-Cloud sources.