Palo Alto Cortex XDR Source

The Palo Alto Cortex XDR Source provides a secure endpoint to receive alerts from the Get Alerts Incident Management API. It securely stores the required authentication, scheduling, and state tracking information.
By using the Cortex XDR Source Integration, you can easily access and analyze data from multiple sources, enabling you to quickly identify and respond to potential threats. This Source offers you with a centralized view of security events, allowing you to correlate data from various sources and gain deeper insights into security incidents.
The Cortex XDR Source Integration is a valuable Source for security teams that want to enhance their threat detection capabilities and streamline their incident response process. It helps you to effectively monitor your security posture, identify threats in real-time, and respond quickly to potential attacks.
Data collected
| Polling Interval | Data |
|---|---|
| 10 min | Alert data |
| 10 min | Incident data |
Setup
Vendor configuration
In this configuration, you will set up a Cortex XDR source account and configure it to be authorized and authenticated to use device logs and alerts from the Cortex XDR API. The Palo Alto Cortex XDR Source requires you to provide an API Key, API Key ID, and an FQDN (excluding protocol and trailing slash). These are needed to use the Cortex XDR API.
Getting Cortex XDR API key
To authenticate to the Cortex XDR APIs, follow the steps below:
- Access the Cortex XDR application.
- Enter your login credentials, including your email ID and password, to log in. You will be directed to the application dashboard.
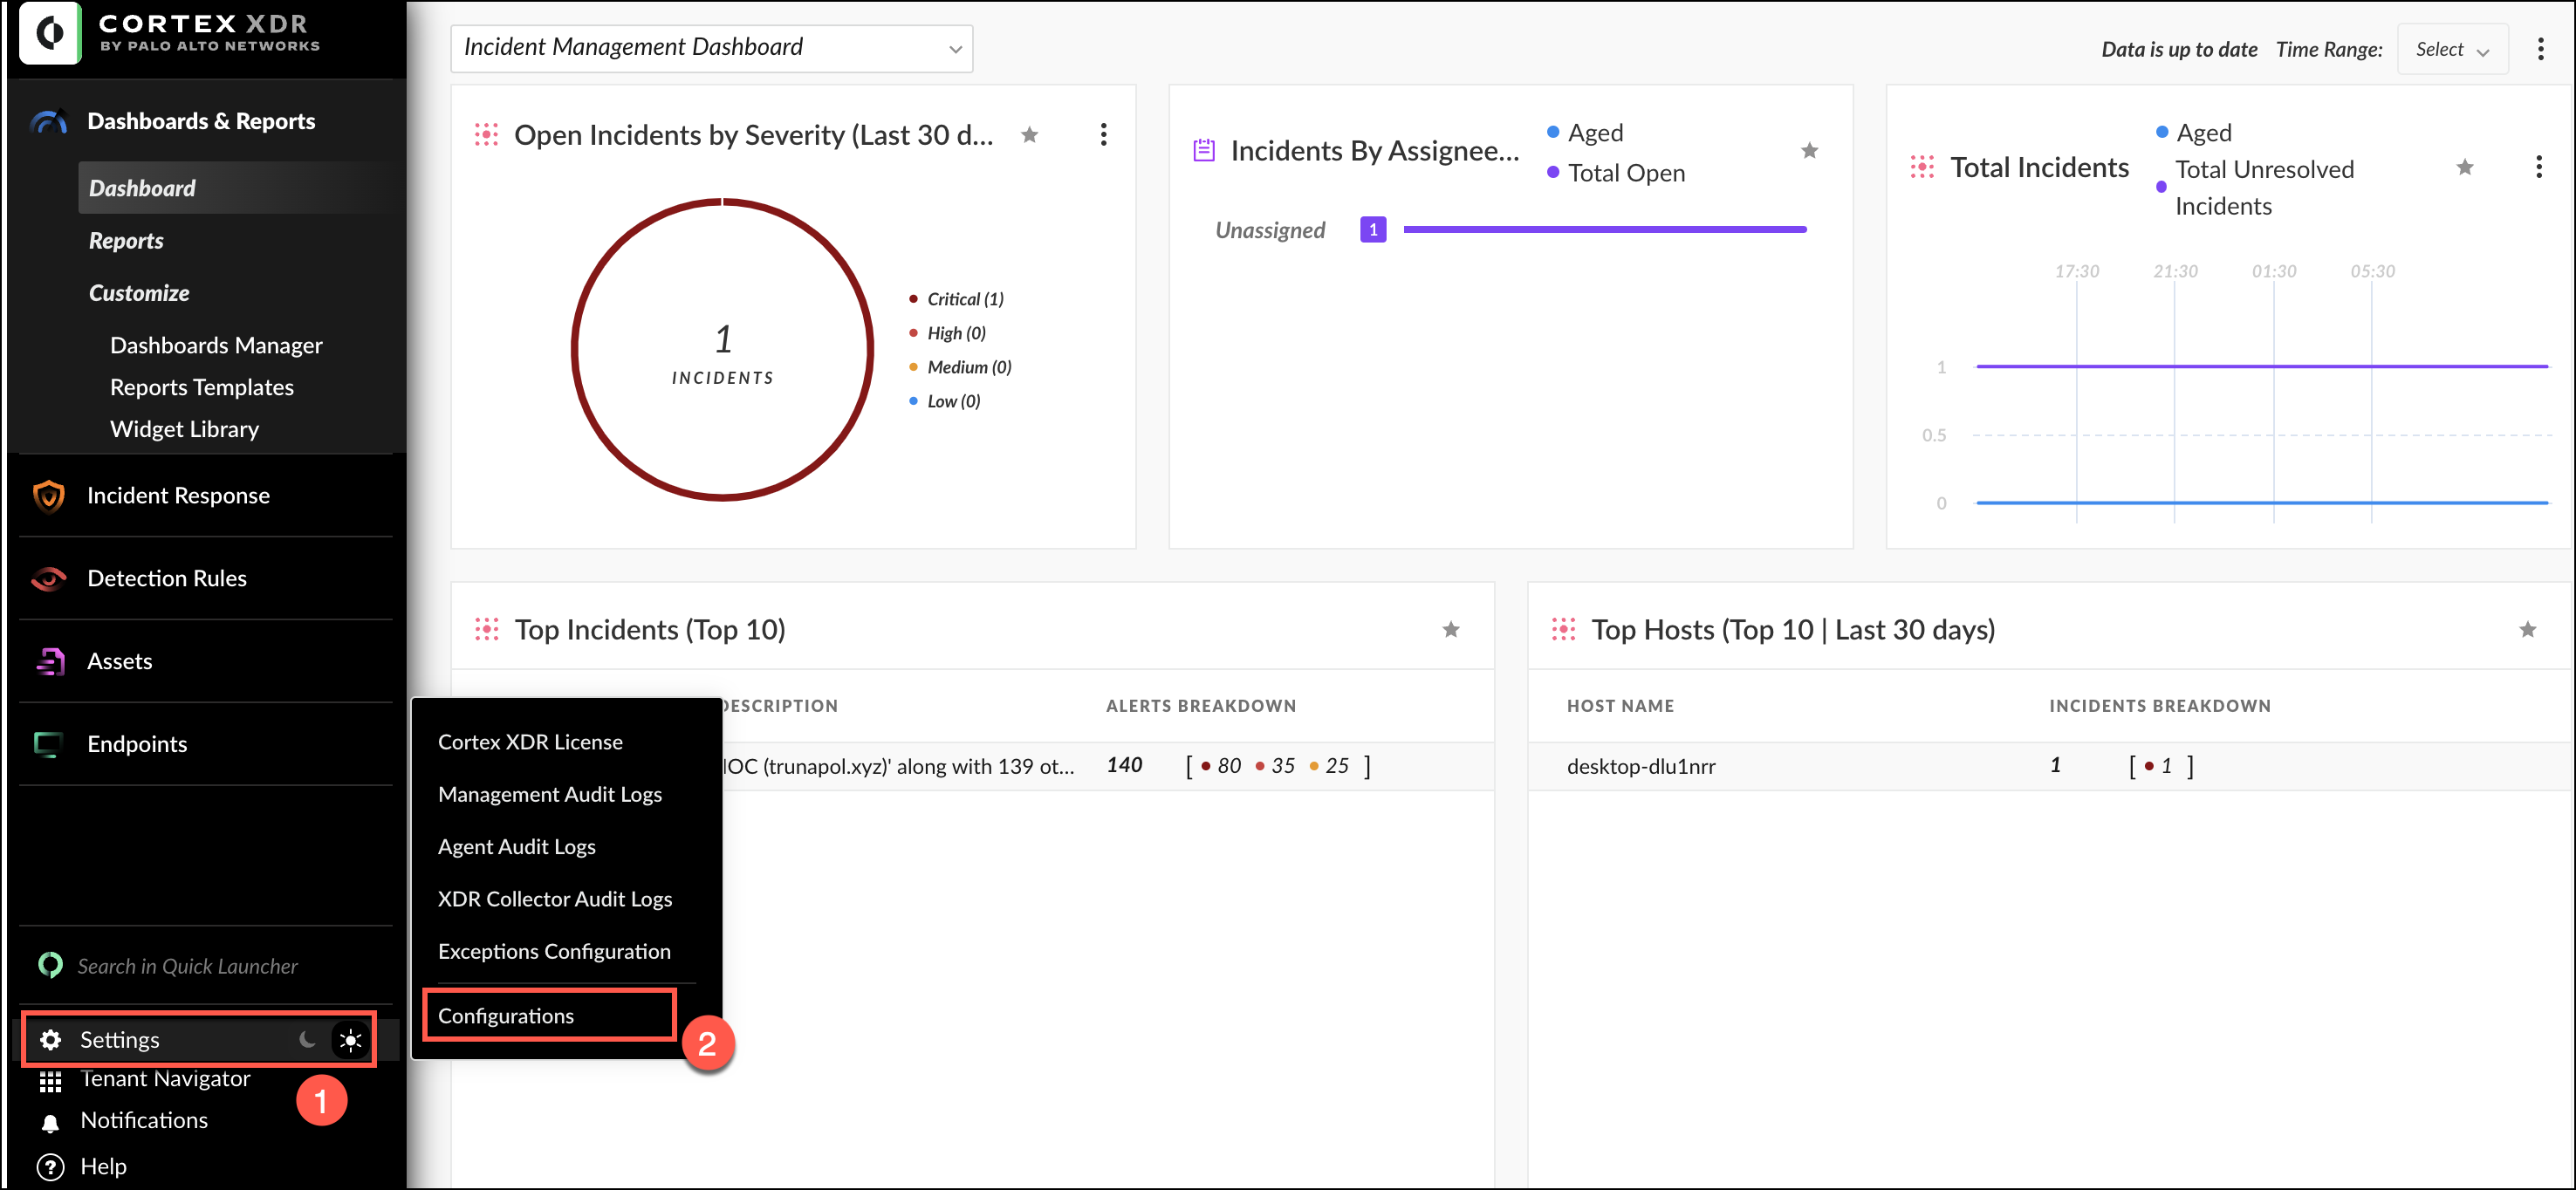
- On the left-hand panel of the dashboard, locate the Settings option and click on it. Then select Configurations.
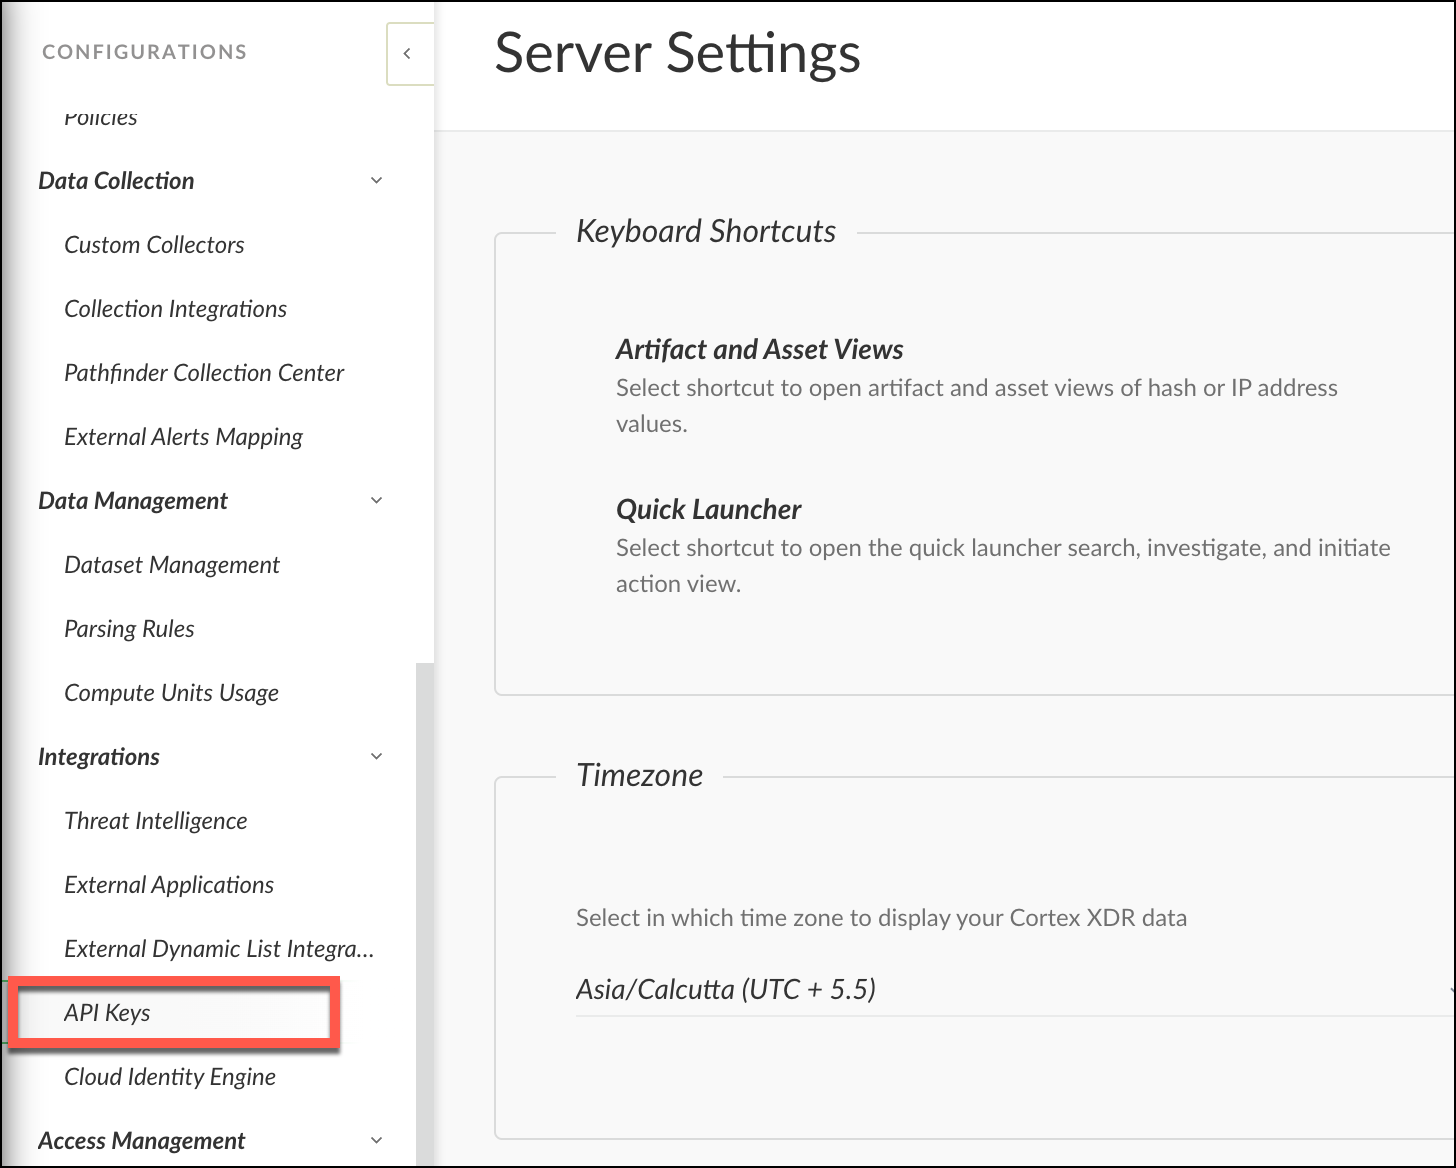
- In the Configurations panel, navigate to the Integrations option and select API keys.
- Click
 button to add a new API key.
 - You will be directed to a page to generate the key. Fill in the required information, then click Save.
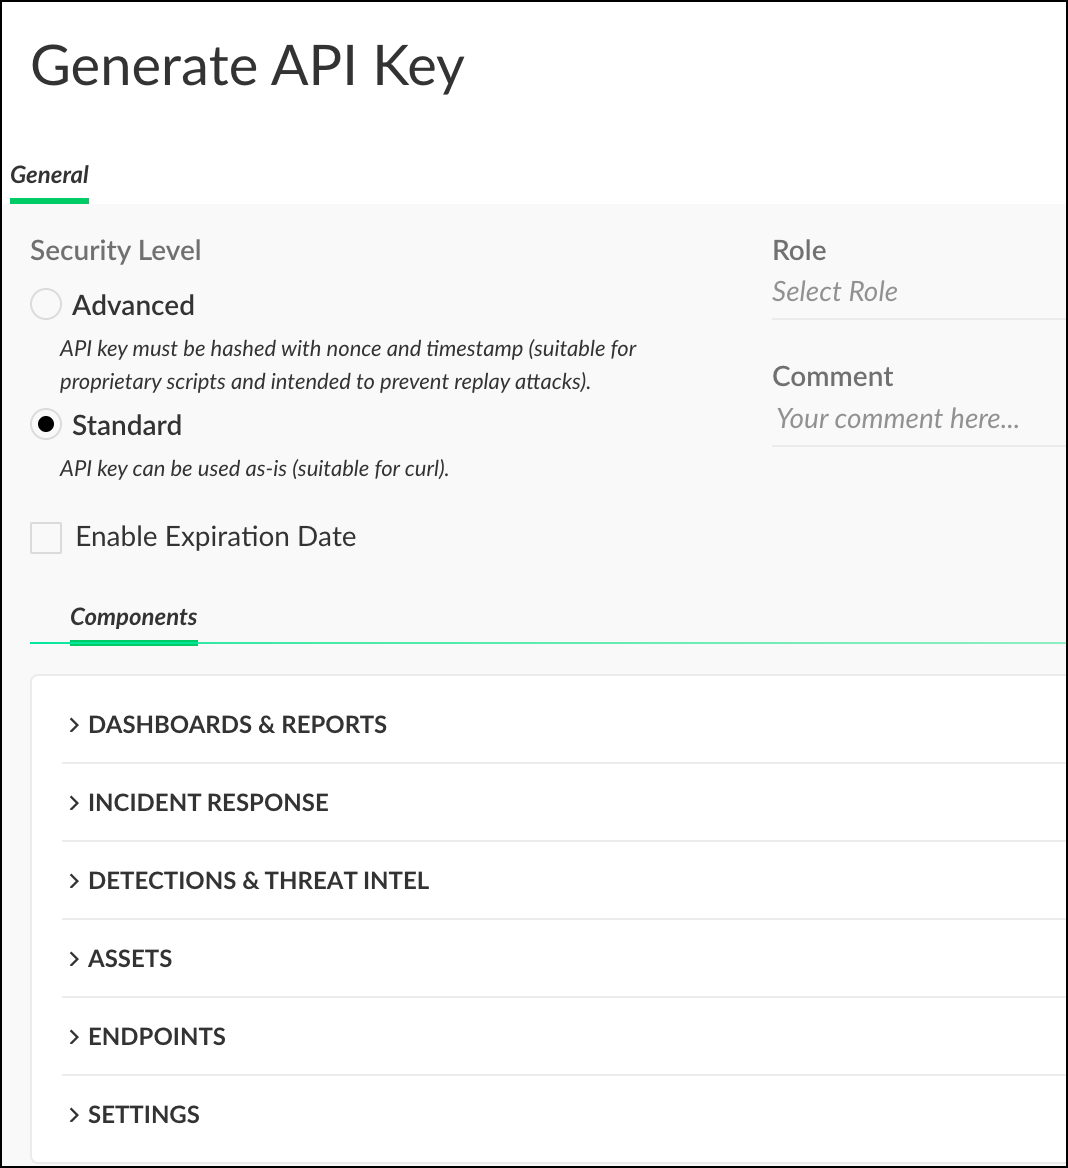 info
infoMake sure to assign the API key the Standard security level.
- Copy
 the generated API key and save it to your personal folder for later use when creating the Cortex XDR source.
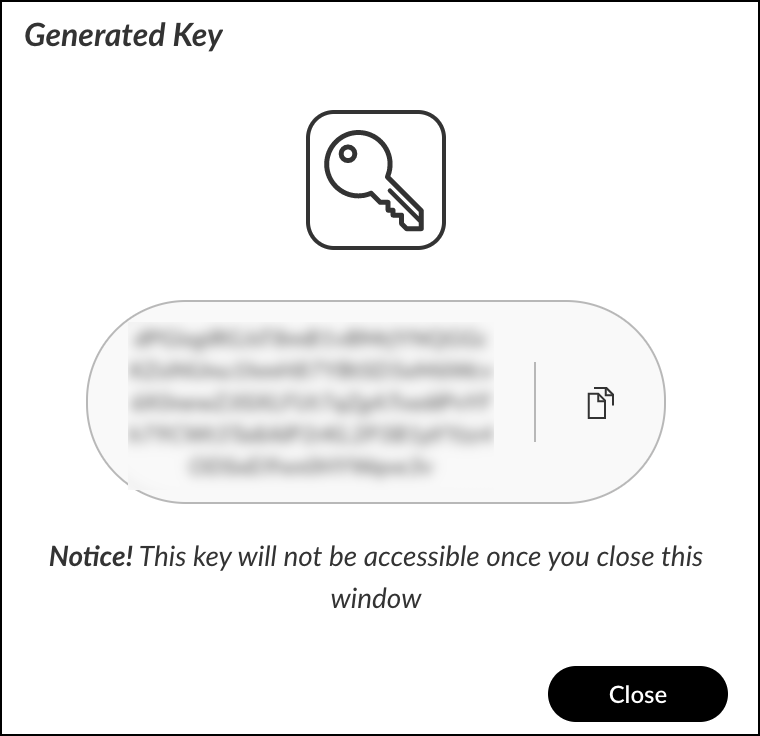
- Click Close to exit the API keys configuration panel.
Getting Cortex XDR API ID
- Once you have obtained the API key, you can retrieve the associated API ID.
- To do so, navigate to the API keys page, where you can view all of the created APIs. Your API ID can be found next to the API key you generated.

Getting Cortex XDR FQDN
- Once you have obtained the API key and ID, the next step is to retrieve your FQDN.
- Navigate to the API Keys page where you can view all the APIs you have created. Right-click on the API ID you have generated and select View Examples from the options that appear. From the API keys page, you can see all the APIs created. Right click on the API ID you have generated, click View Examples from the options that appear.
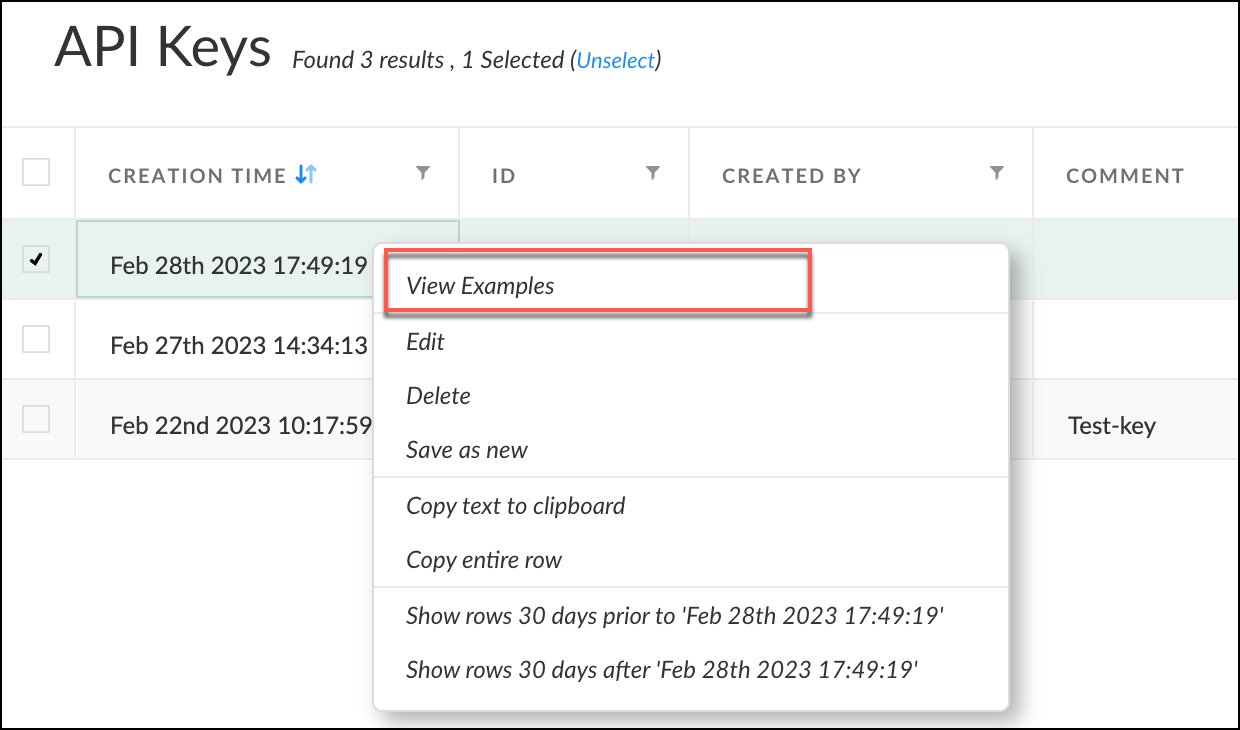
- The API Example window will appear, and your FQDN can be found in the Curl example that starts from
sumologic-partner.xdr.us.paloaltonetworks.com

To learn more about the Cordex XDR APIs, refer to the Get Started with Cortex XDR APIs section.
Source configuration
When you create a Palo Alto Cortex XDR Source, you add it to a Hosted Collector. Before creating the Source, identify the Hosted Collector you want to use or create a new Hosted Collector. For instructions, see Configure a Hosted Collector.
To configure a Palo Alto Cortex XDR Source:
- Classic UI. In the main Sumo Logic menu, select Manage Data > Collection > Collection.
New UI. In the Sumo Logic top menu select Configuration, and then under Data Collection select Collection. You can also click the Go To... menu at the top of the screen and select Collection. - On the Collectors page, click Add Source next to a Hosted Collector.
- Select Palo Alto Cortex XDR.
- Enter a Name to display for the Source in the Sumo Logic web application. The description is optional.
- (Optional) For Source Category, enter any string to tag the output collected from the Source. Category metadata is stored in a searchable field called
_sourceCategory. - Forward to SIEM. Check the checkbox to forward your data to Cloud SIEM. note
Select Forward to SIEM only if you have Cloud SIEM installed.
- (Optional) Fields. Click the +Add Field link to define the fields you want to associate, each field needs a name (key) and value.
 A green circle with a check mark is shown when the field exists in the Fields table schema.
 An orange triangle with an exclamation point is shown when the field doesn't exist in the Fields table schema. In this case, an option to automatically add the nonexistent fields to the Fields table schema is provided. If a field is sent to Sumo that does not exist in the Fields schema it is ignored, known as dropped.
- API Key. Enter the API Key that you generated and secured in step 7 of the API Key section.
- API ID. Enter the API ID that you generated and secured in step 2 of the API ID section.
- Tenant FQDN. Enter the FQDN that you obtained when you generated the API Key and API ID, as explained in the FQDN section. The FQDN is a unique host and domain name associated with each tenant.
- Ingest Associated Events. It enables the ingestion of all events associated with an alert as a separate set of log lines. Each alert will have all events ingested as individual log lines, each enriched with the original alert ID.
- Duplicate Alerts for each alert host IP. It simplifies the analysis of incoming alerts by flattening the host IP field and generating a duplicate alert for each unique host IP. The duplicates are identical except for the flattened host IP field, making it easier to work with the alerts and create rules or searches to detect potential security threats.
- Ingested Incident Events. It allows the ingestion of all events associated with an alert as individual log lines, each with the original alert ID enrichment.
- Polling Interval. It is set for 600 seconds by default, you can adjust it based on your needs. This sets how often the Source checks for new data.
- When you are finished configuring the Source, click Submit.
To ensure accurate and effective display of all alerts, we recommend enabling duplicate alerts for each alert host IP. This prevents any host IP array flattening.
Metadata fields
| Field | Value | Description |
|---|---|---|
_siemVendor | Palo Alto | Set when Forward To SIEM is checked. |
_siemProduct | Cortex | Set when Forward To SIEM is checked. |
_siemFormat | JSON | Set when Forward To SIEM is checked. |
_siemEventID | <category> | Alert logs and associated event logs use {category} while incident logs use the static text incident |
JSON schema
Sources can be configured using UTF-8 encoded JSON files with the Collector Management API. See how to use JSON to configure Sources for details.
| Parameter | Type | Value | Required | Description |
|---|---|---|---|---|
| schemaRef | JSON Object | {"type":"Palo Alto Cortex XDR"} | Yes | Define the specific schema type. |
| sourceType | String | "Universal" | Yes | Type of source. |
| config | JSON Object | Configuration object | Yes | Source type specific values. |
Configuration Object
The following table shows the config parameters for a Palo Alto Cortex XDR Source.
| Parameter | Type | Required | Default | Description | Example |
|---|---|---|---|---|---|
| name | String | Yes | null | Type a desired name of the source. The name must be unique per Collector. This value is assigned to the metadata field _source. | "mySource" |
| description | String | No | null | Type a description of the source. | "Testing source" |
| category | String | No | null | Type a category of the source. This value is assigned to the metadata field _sourceCategory. See best practices for details. | "mySource/test" |
| fields | JSON Object | No | null | JSON map of key-value fields (metadata) to apply to the Collector or Source. Use the boolean field _siemForward to enable forwarding to SIEM. | {"_siemForward": false, "fieldA": "valueA"} |
| api_key | String | Yes | null | Provide the API Key you want to use to authenticate collection requests. | |
| api_id | String | Yes | null | Provide the API ID for the API Key that you want to use to authenticate collection requests. | |
| fqdn | String | Yes | null | The FQDN is a unique host and domain name associated with each tenant. When you generate the API Key and Key ID, you are assigned an individual FQDN. | |
| ingest_events | Boolean | No | False | When true, the ingestion of all events associated with an alert as a separate set of log lines. Each alert will have all events ingested as individual log lines, each enriched with the original alert ID. | |
| dup_alerts | Boolean | No | False | When true, it takes all inbound alerts and flatten the host IP field in the alert data structure. Then a duplicate alert is ingested for each, which will be identical except for the host IP field that is flattened from an array. This simplifies working with the alert and the generation of rules or searches based on alert content. | |
| collect_incidents | Boolean | No | False | If true, it collects incidents. | |
| polling_interval | Integer | No | 600 | This sets how often the Source checks for new data. |
JSON example
loading...
Terraform example
loading...
FAQ
Click here for more information about Cloud-to-Cloud sources.